前言
本文用于记录GeoServer开发环境的搭建过程
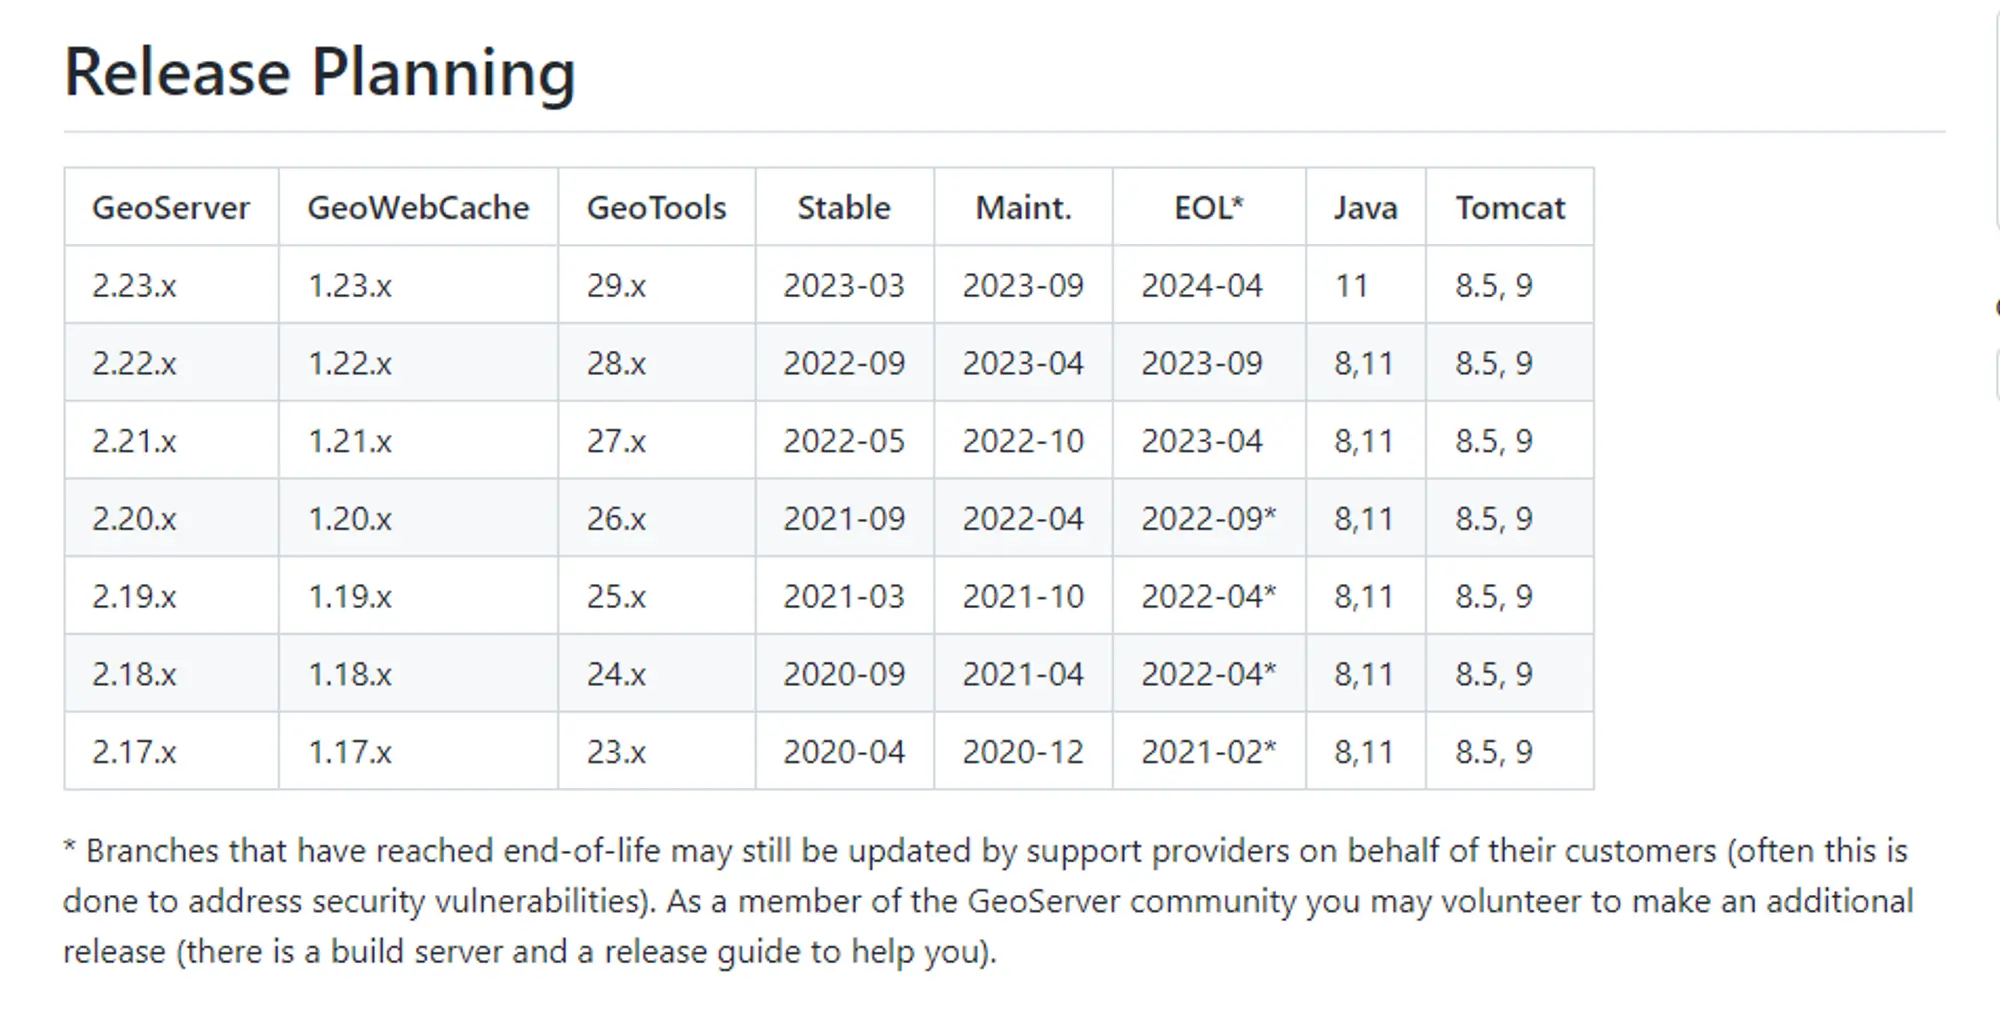
通过GeoServer发布计划可以看到,在2.23.x版本开始,会移除对jdk1.8的支持。那么当前我们会选择2.22.x版本进行研究
环境
- JAVA:1.8或11
- Maven
- Git
Action
获取源码
git clone git://github.com/geoserver/geoserver.git geoserver

# or

git clone https://github.com/geoserver/geoserver.git geoserver
代码库结构
Each branch has the following structure:
build- release and continuous integration scriptsdoc- sources for the user and developer guidessrc- java sources for GeoServer itselfdata- a variety of GeoServer data directories / configurations
切换到2.22.x分支
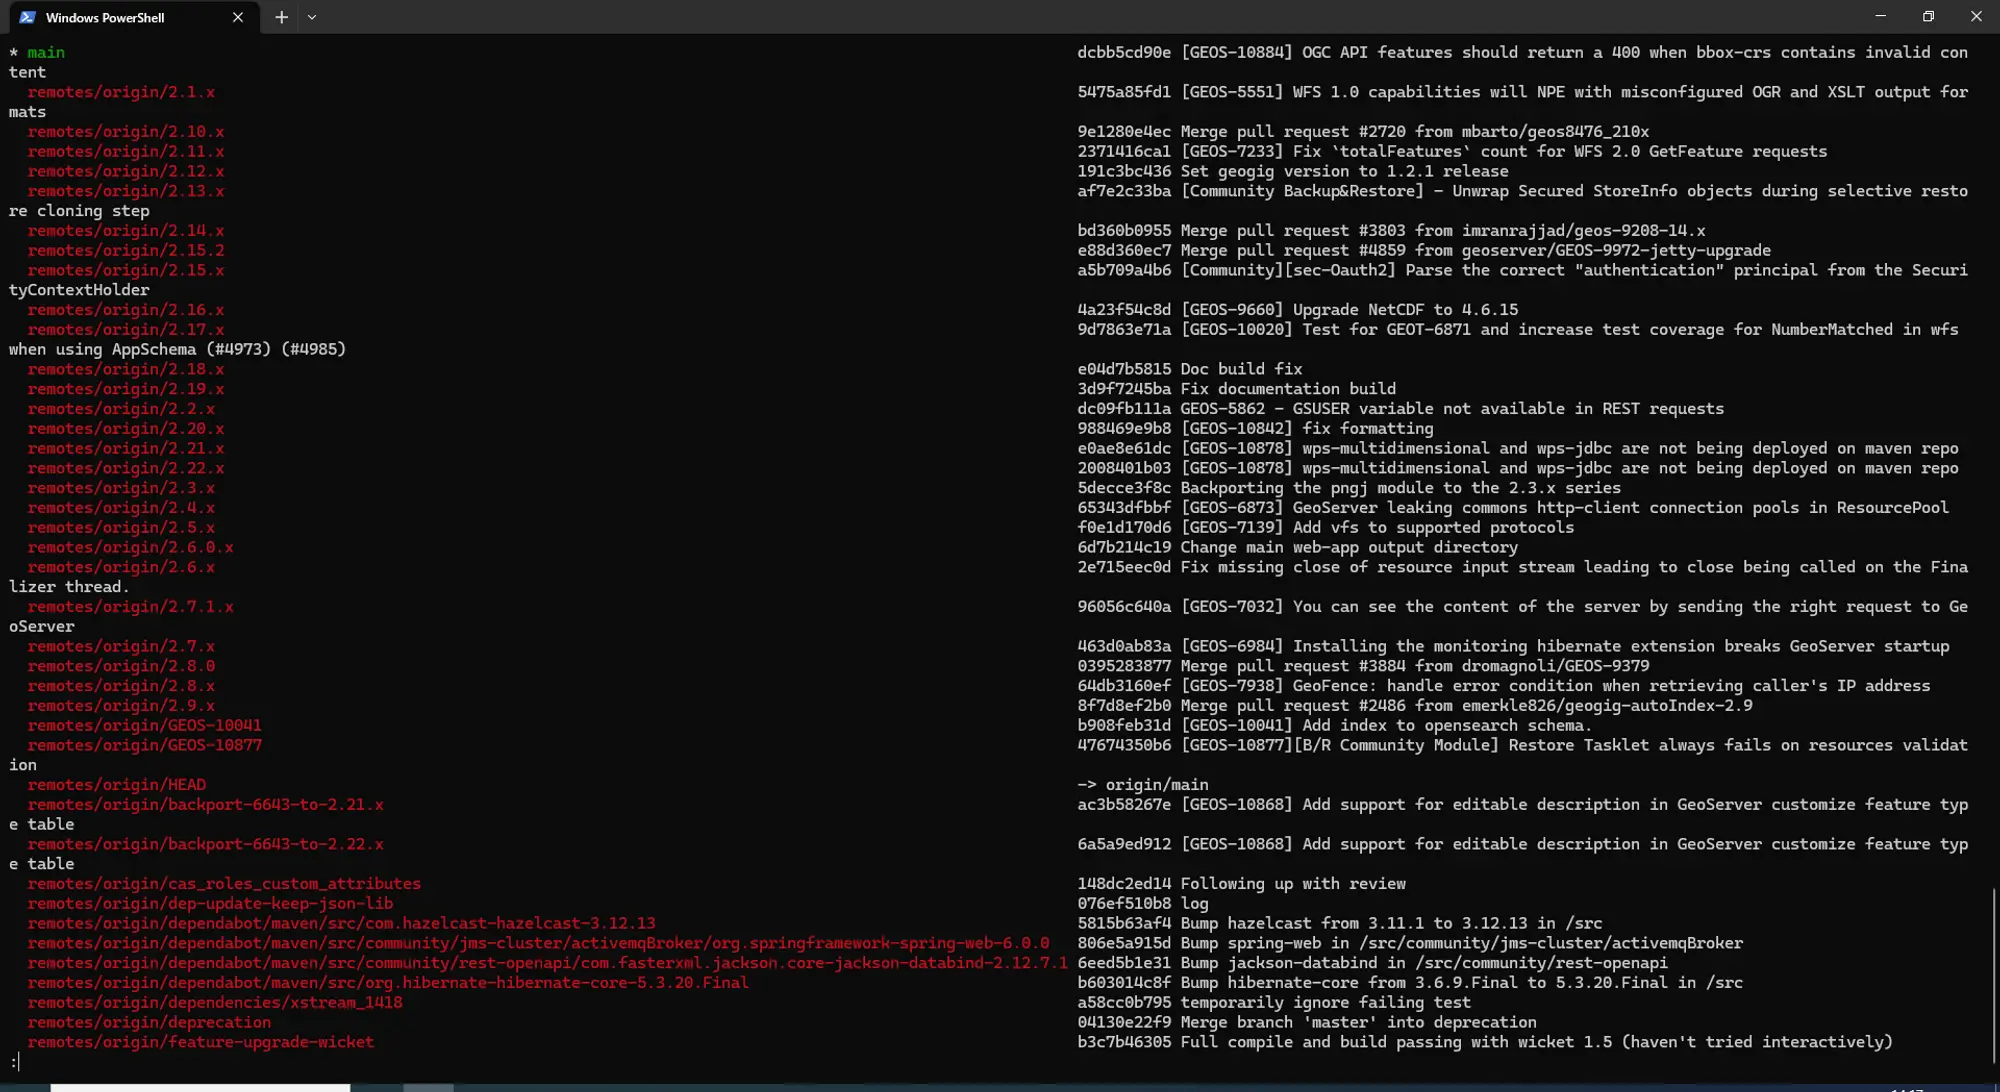
# 查看分支
git branch -av
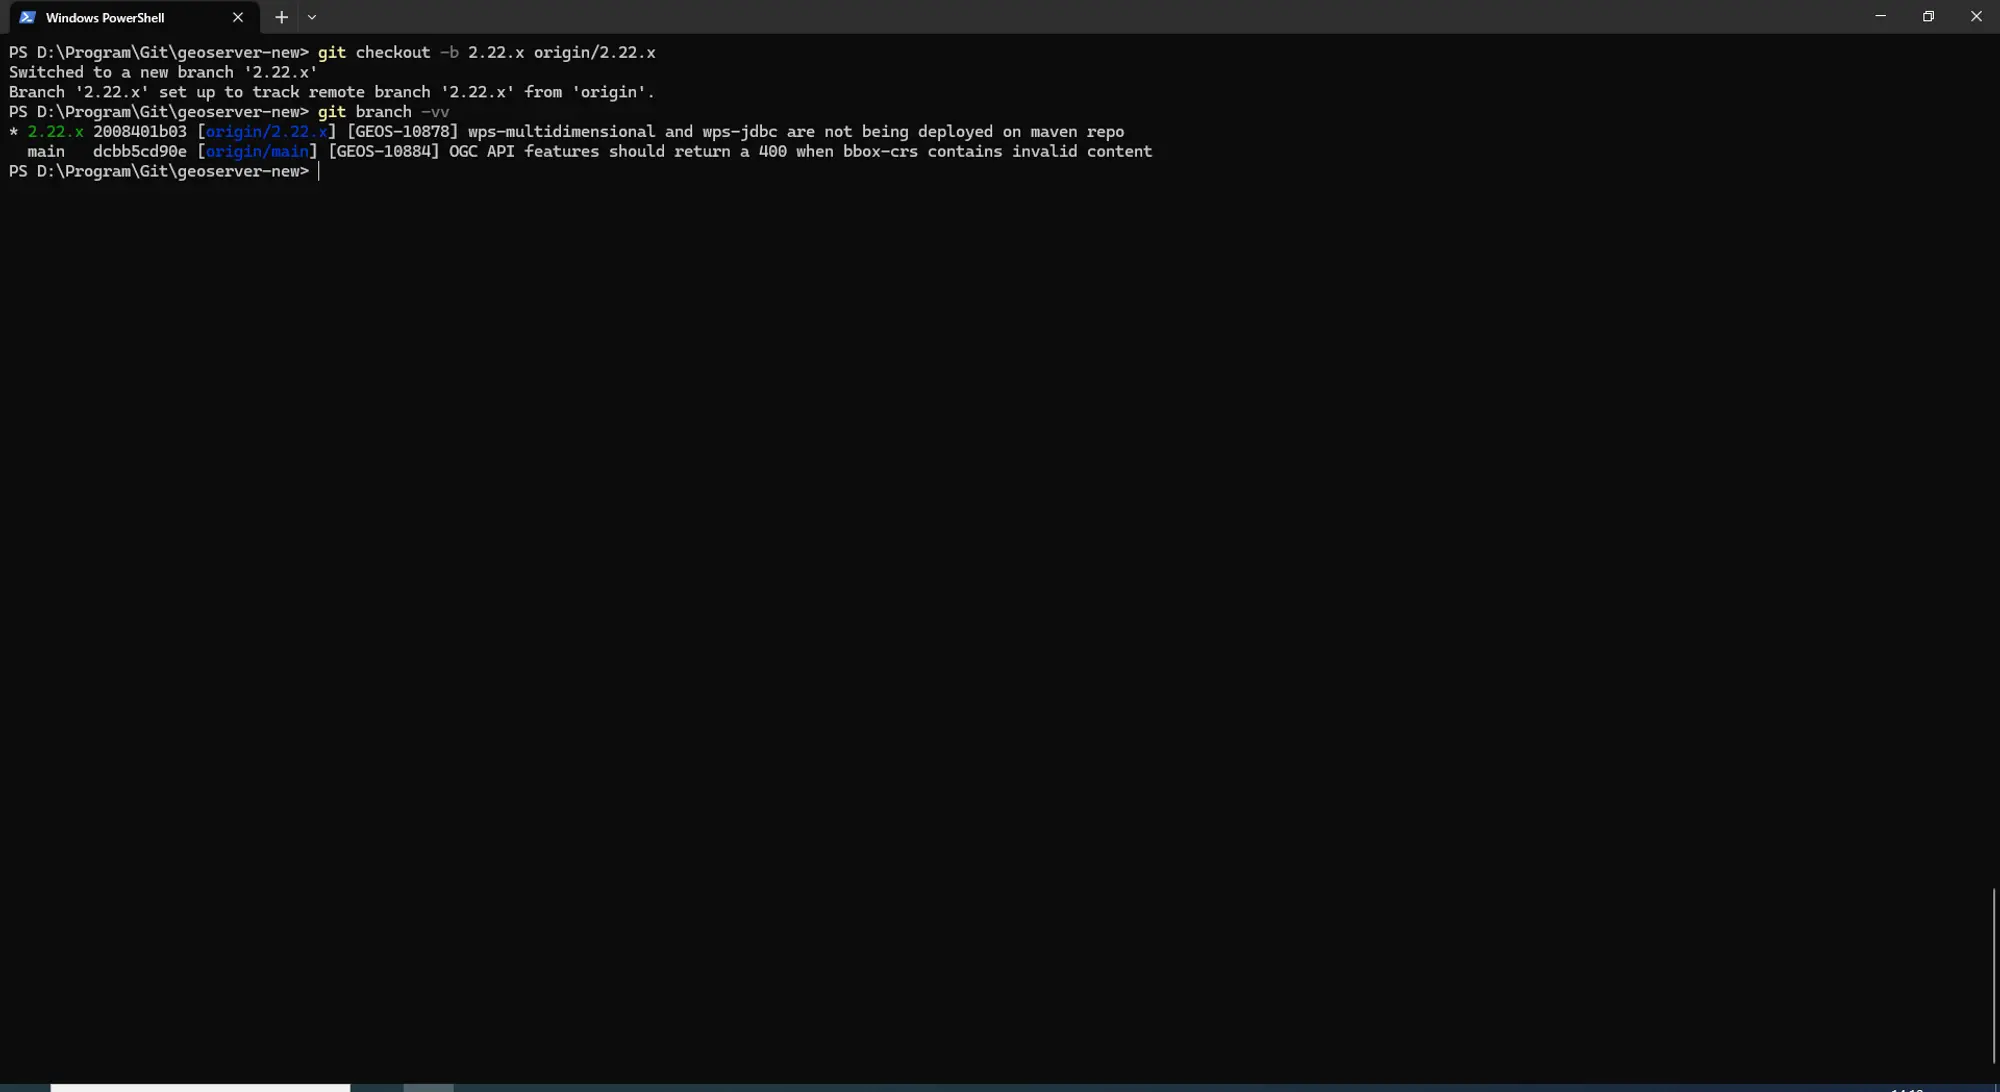
# 切换分支
git checkout -b 2.22.x origin/2.22.x
Import modules into IntelliJ
-
Run the IntelliJ IDE
-
From the initial panel select
Open.
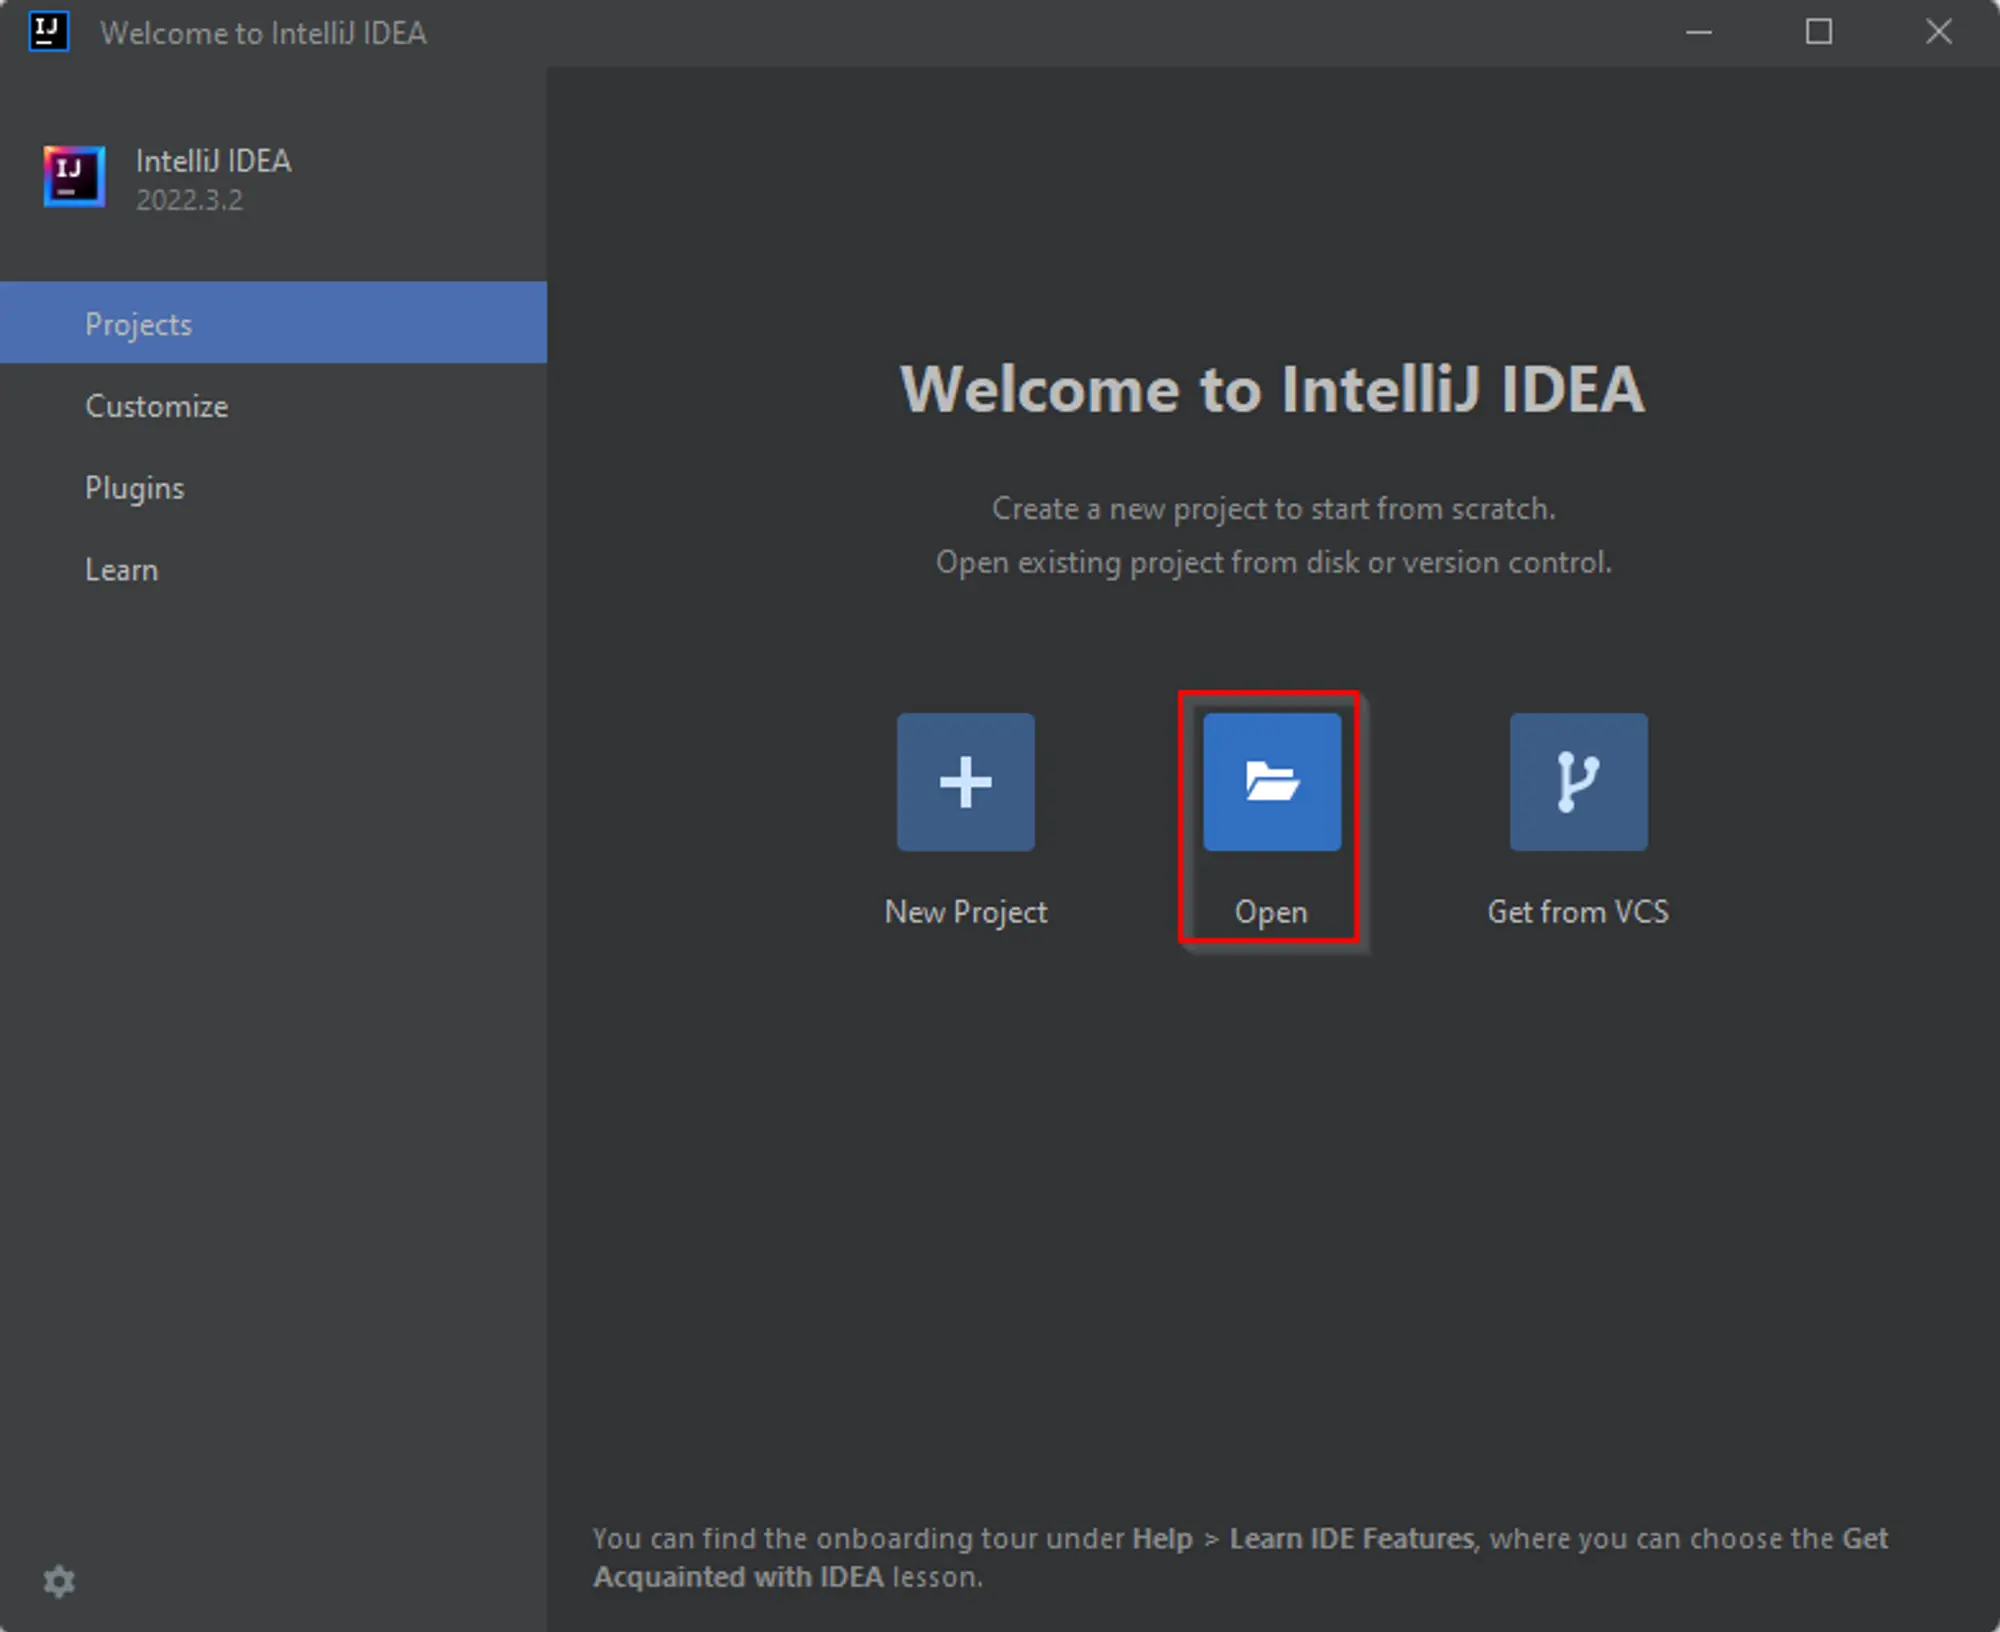
- Navigate to the
geoserver/src/pom.xmldirectory and clickOK.
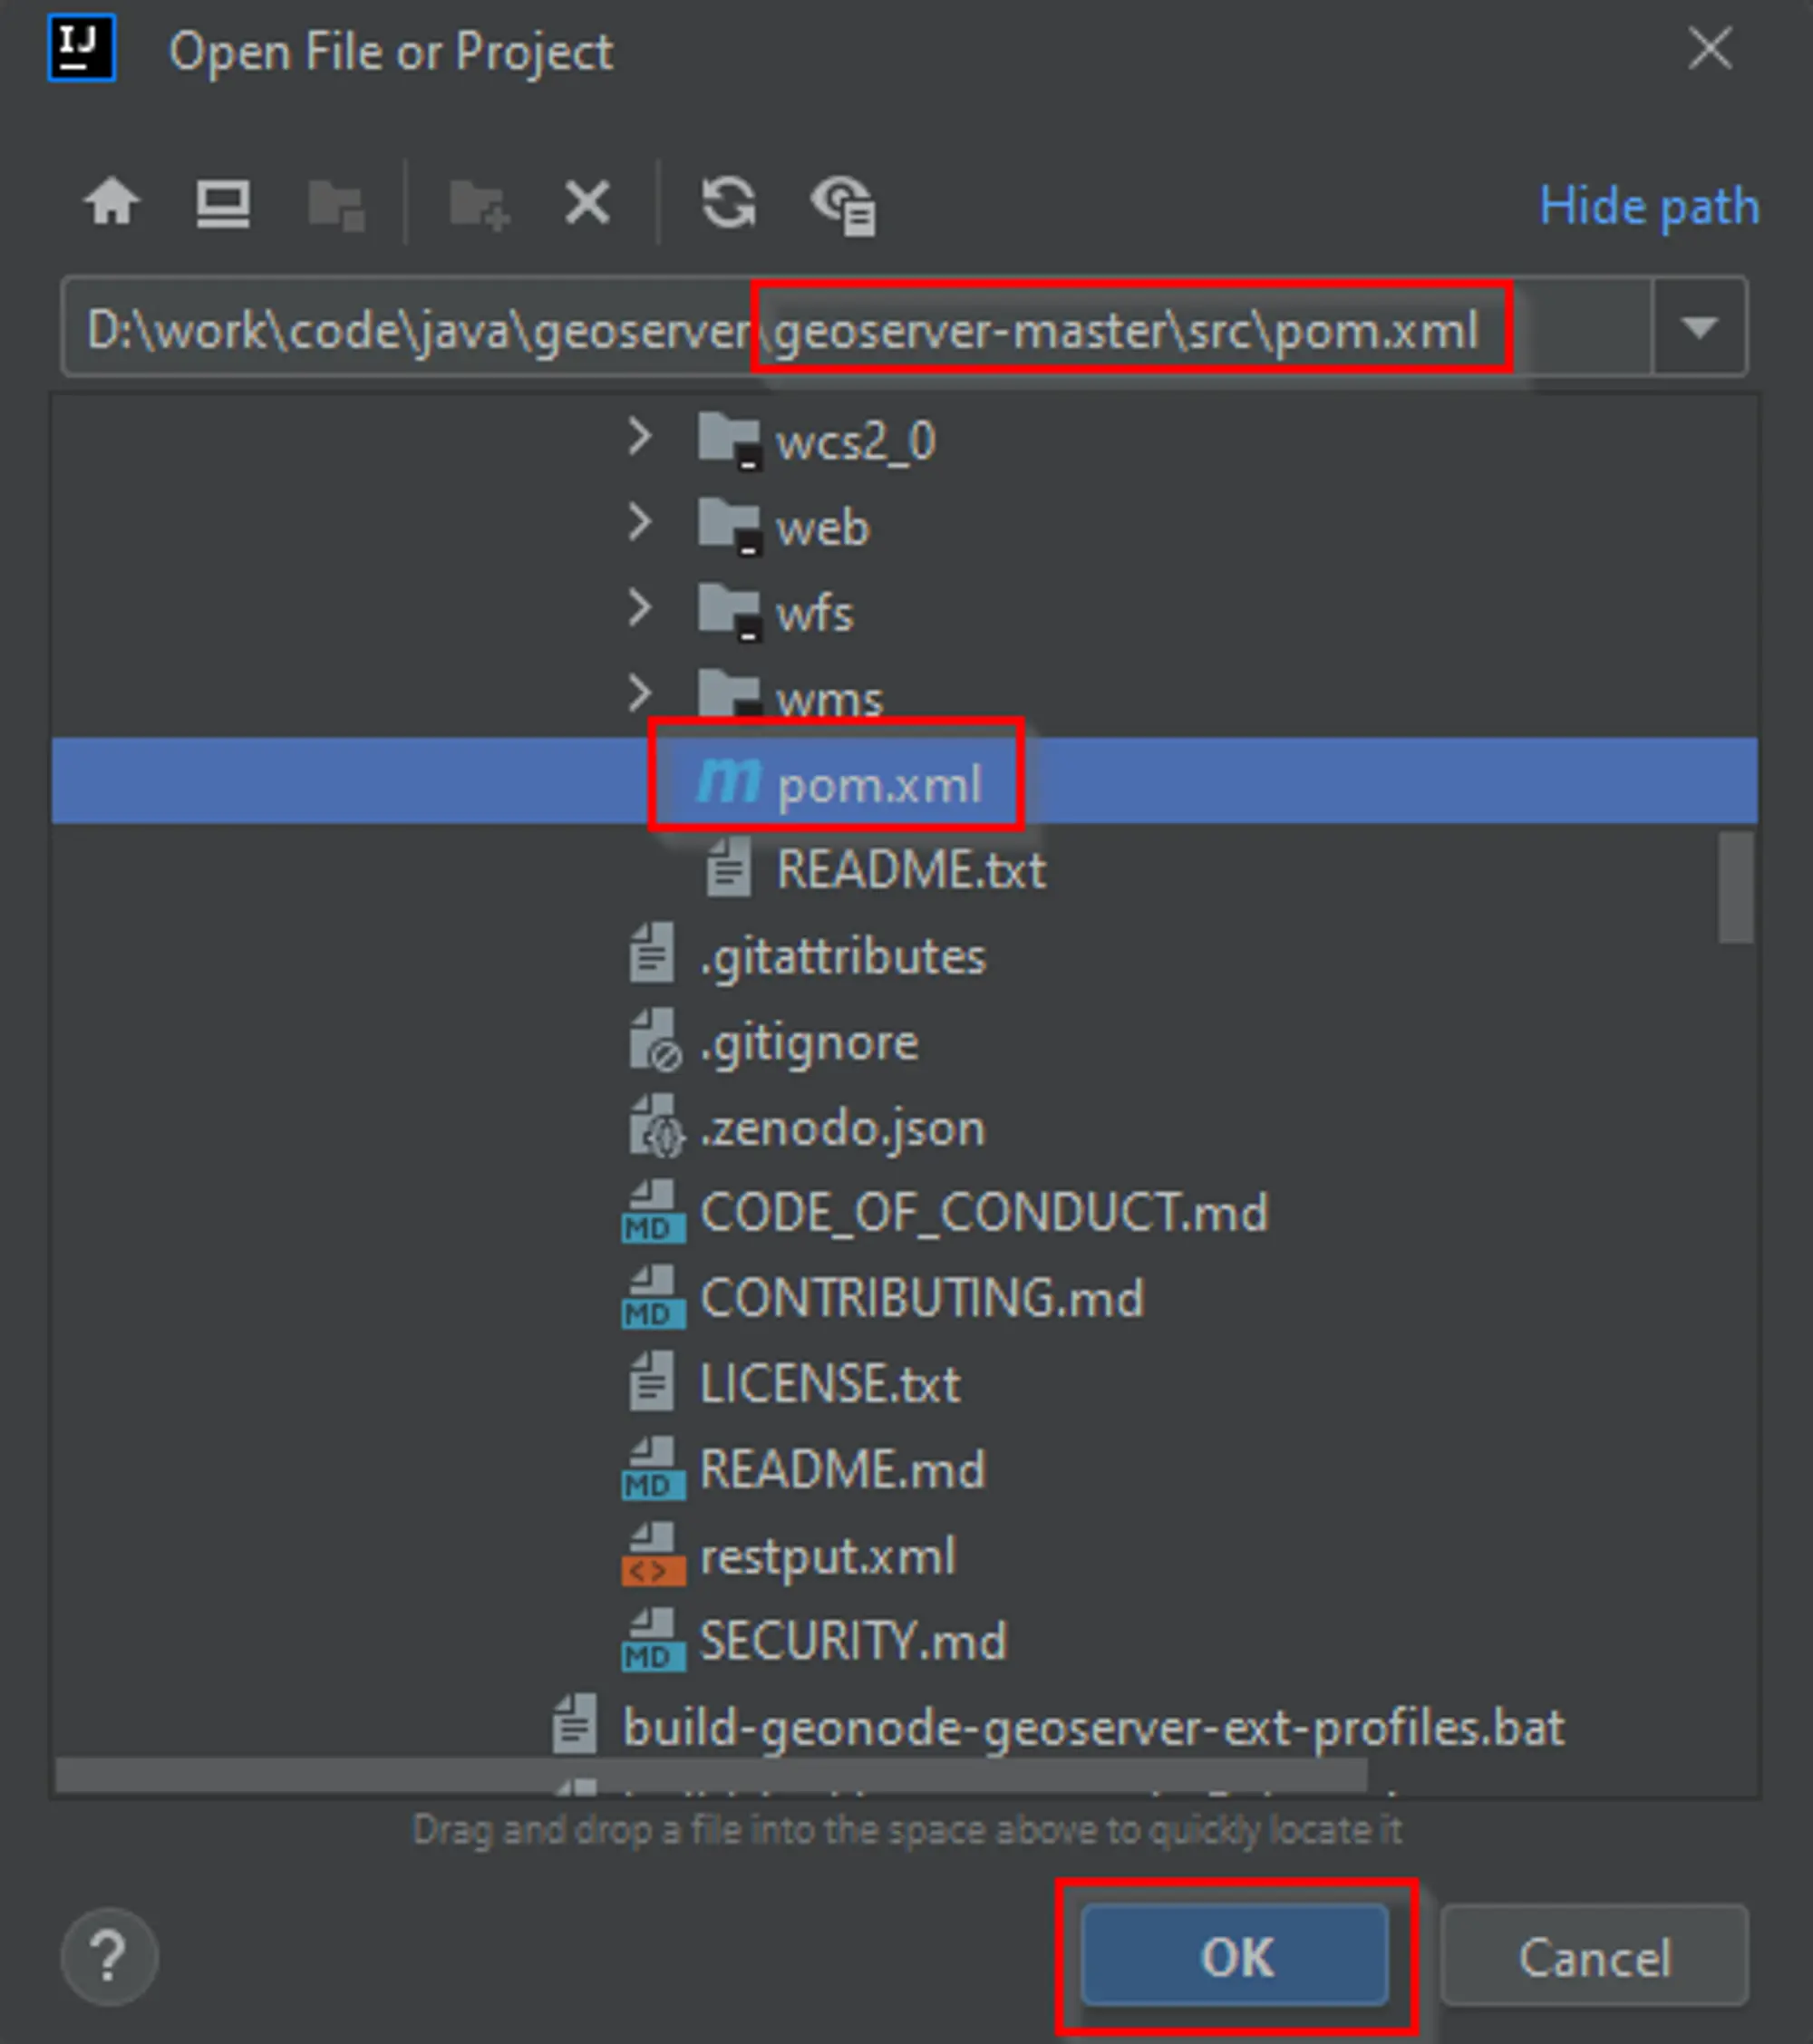
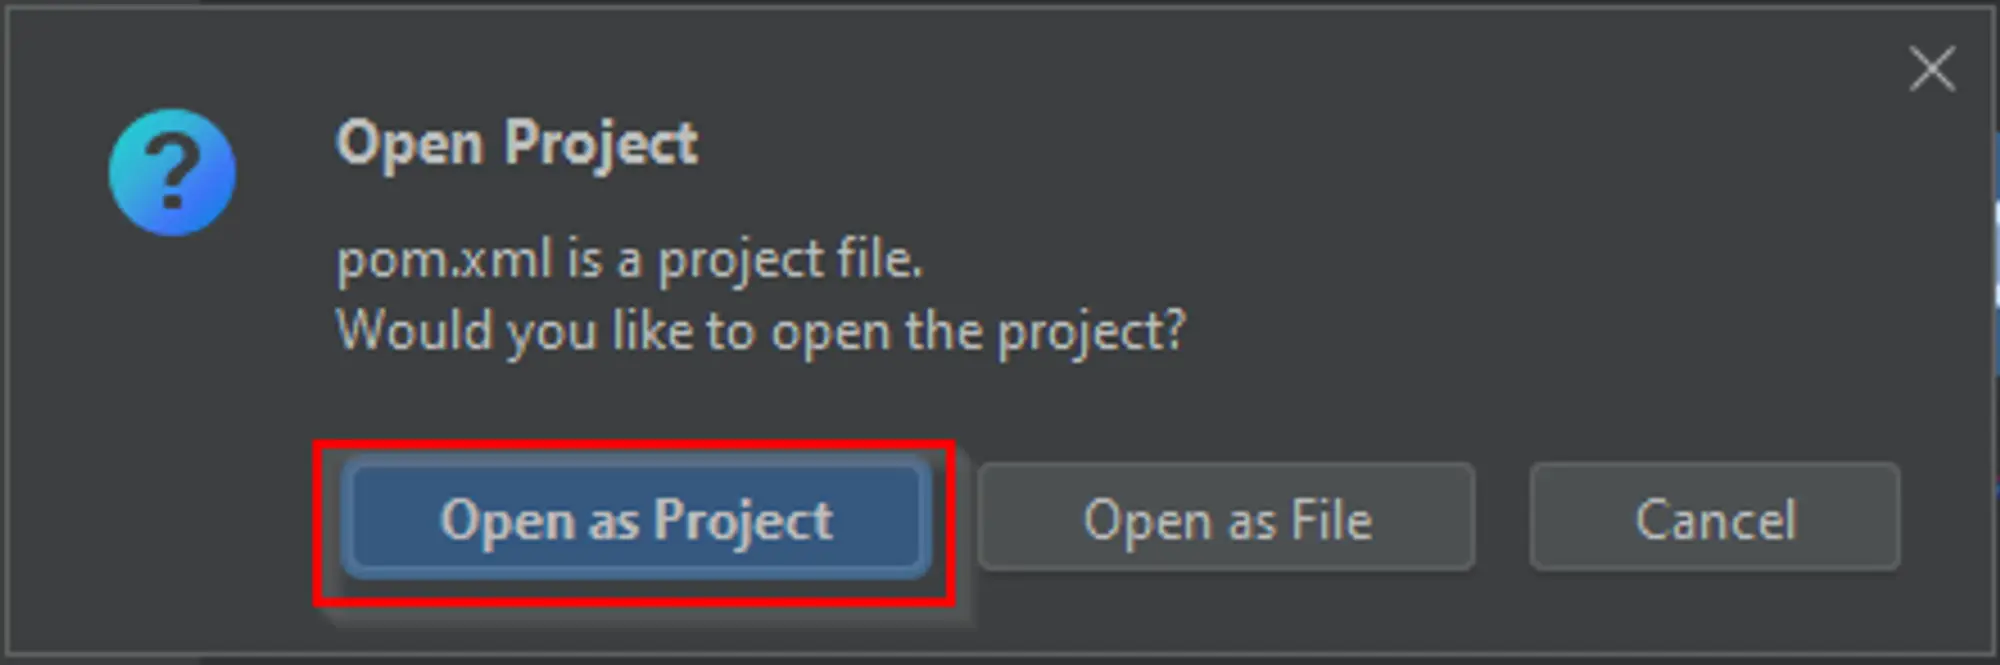
- When asked click on
Open as a Project.
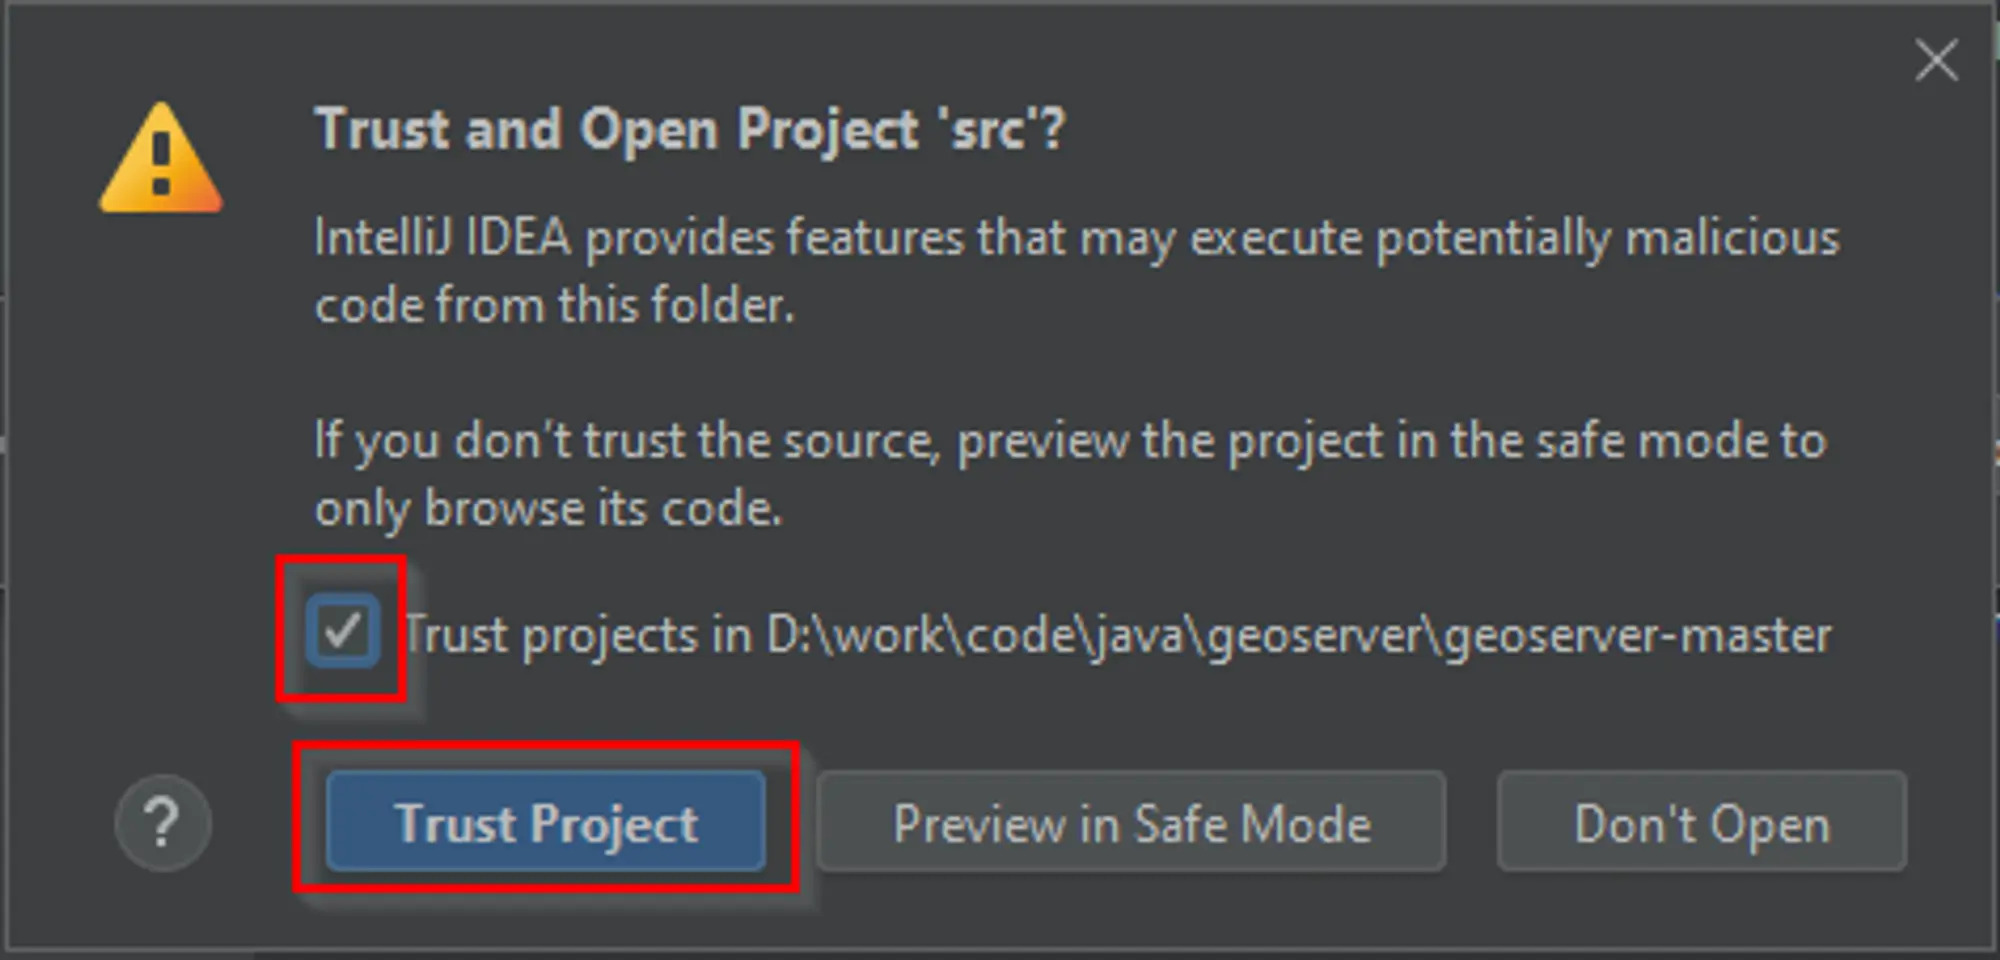
- Optionally, depending on which platform, IntelliJ may ask to
Trust the Project.
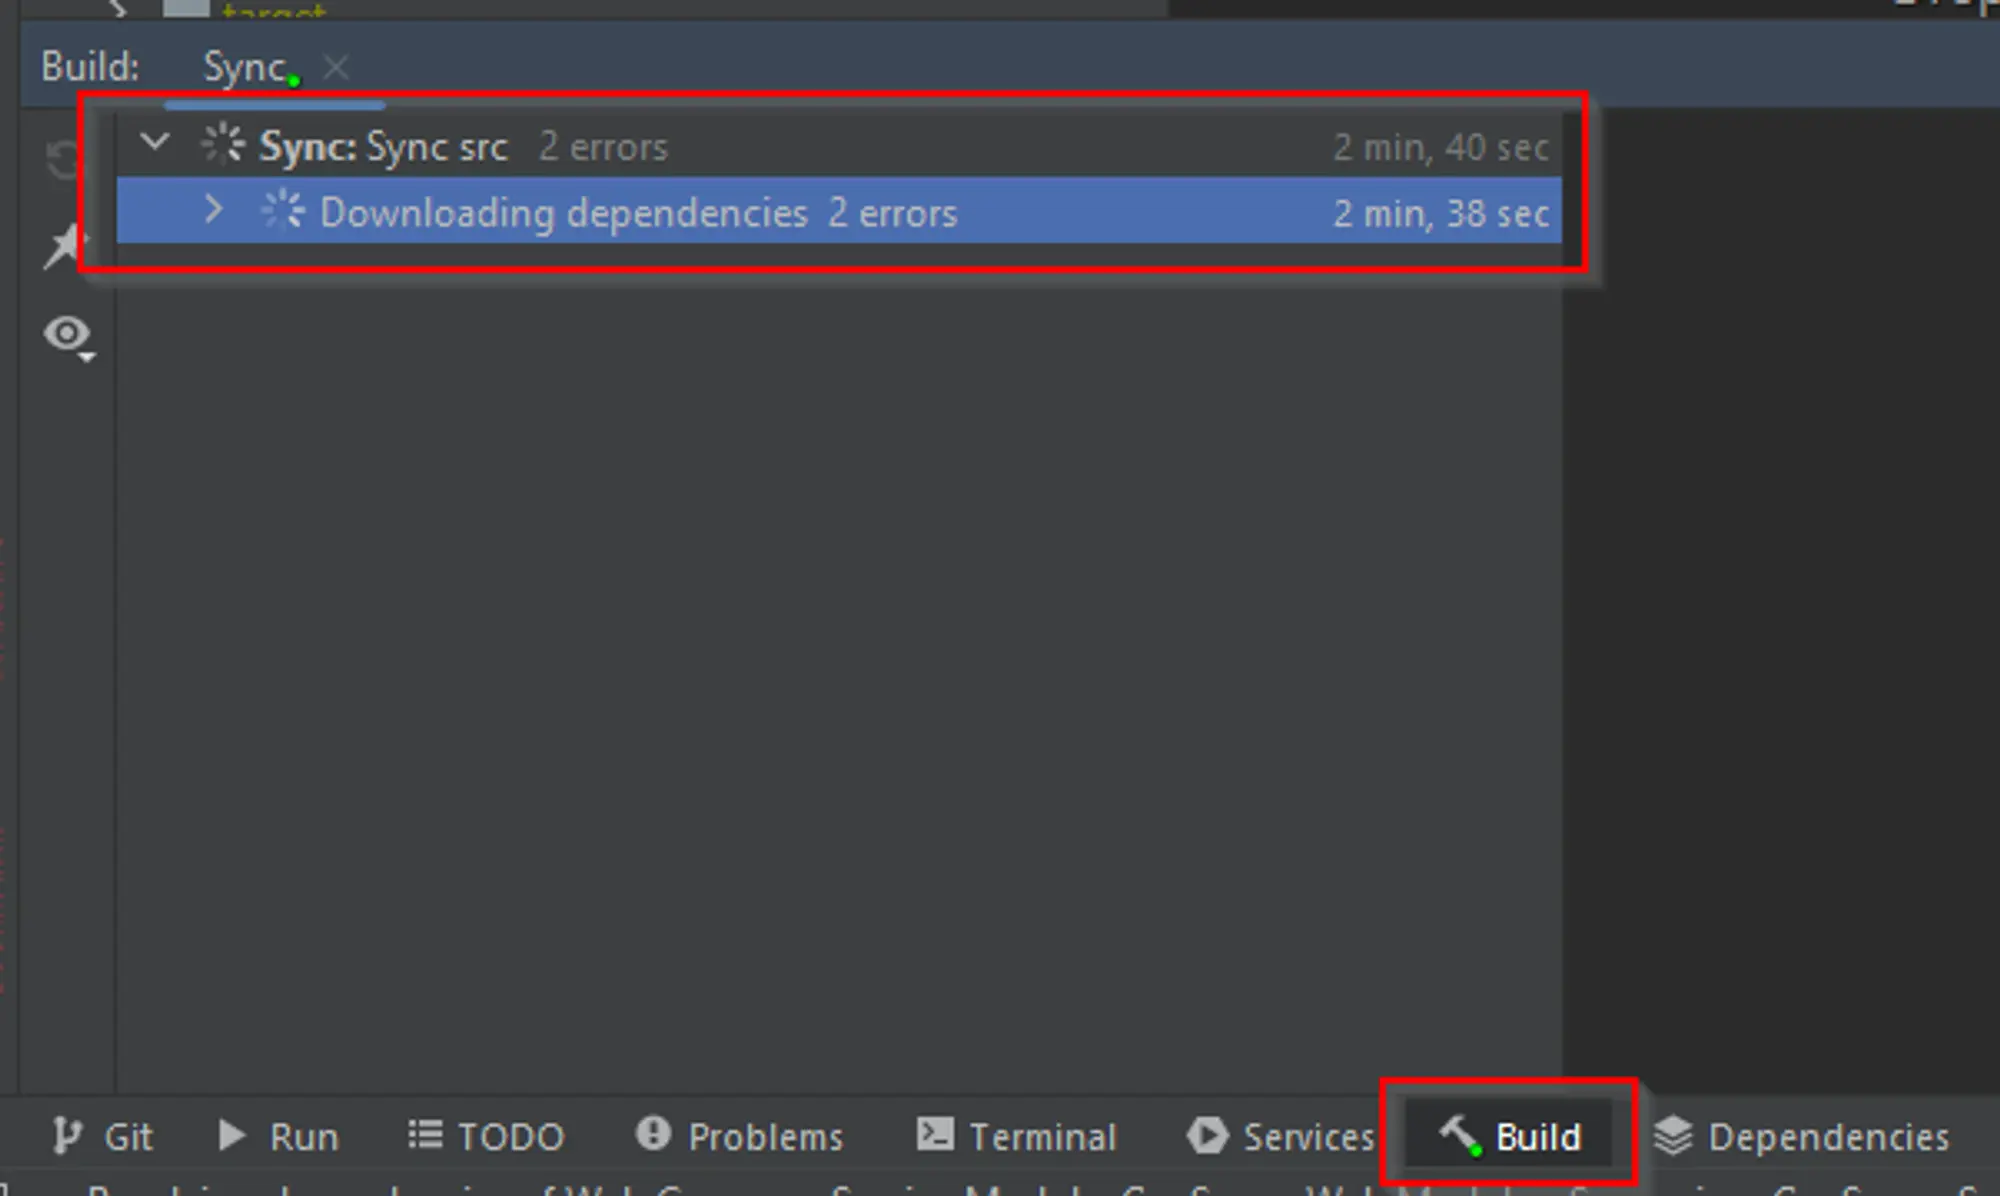
- Wait for IntelliJ to
Syncthe dependencies, it’s possible to follow the process from theBuildtab panel on the bottom.
Finalize the GeoServer Project configuration
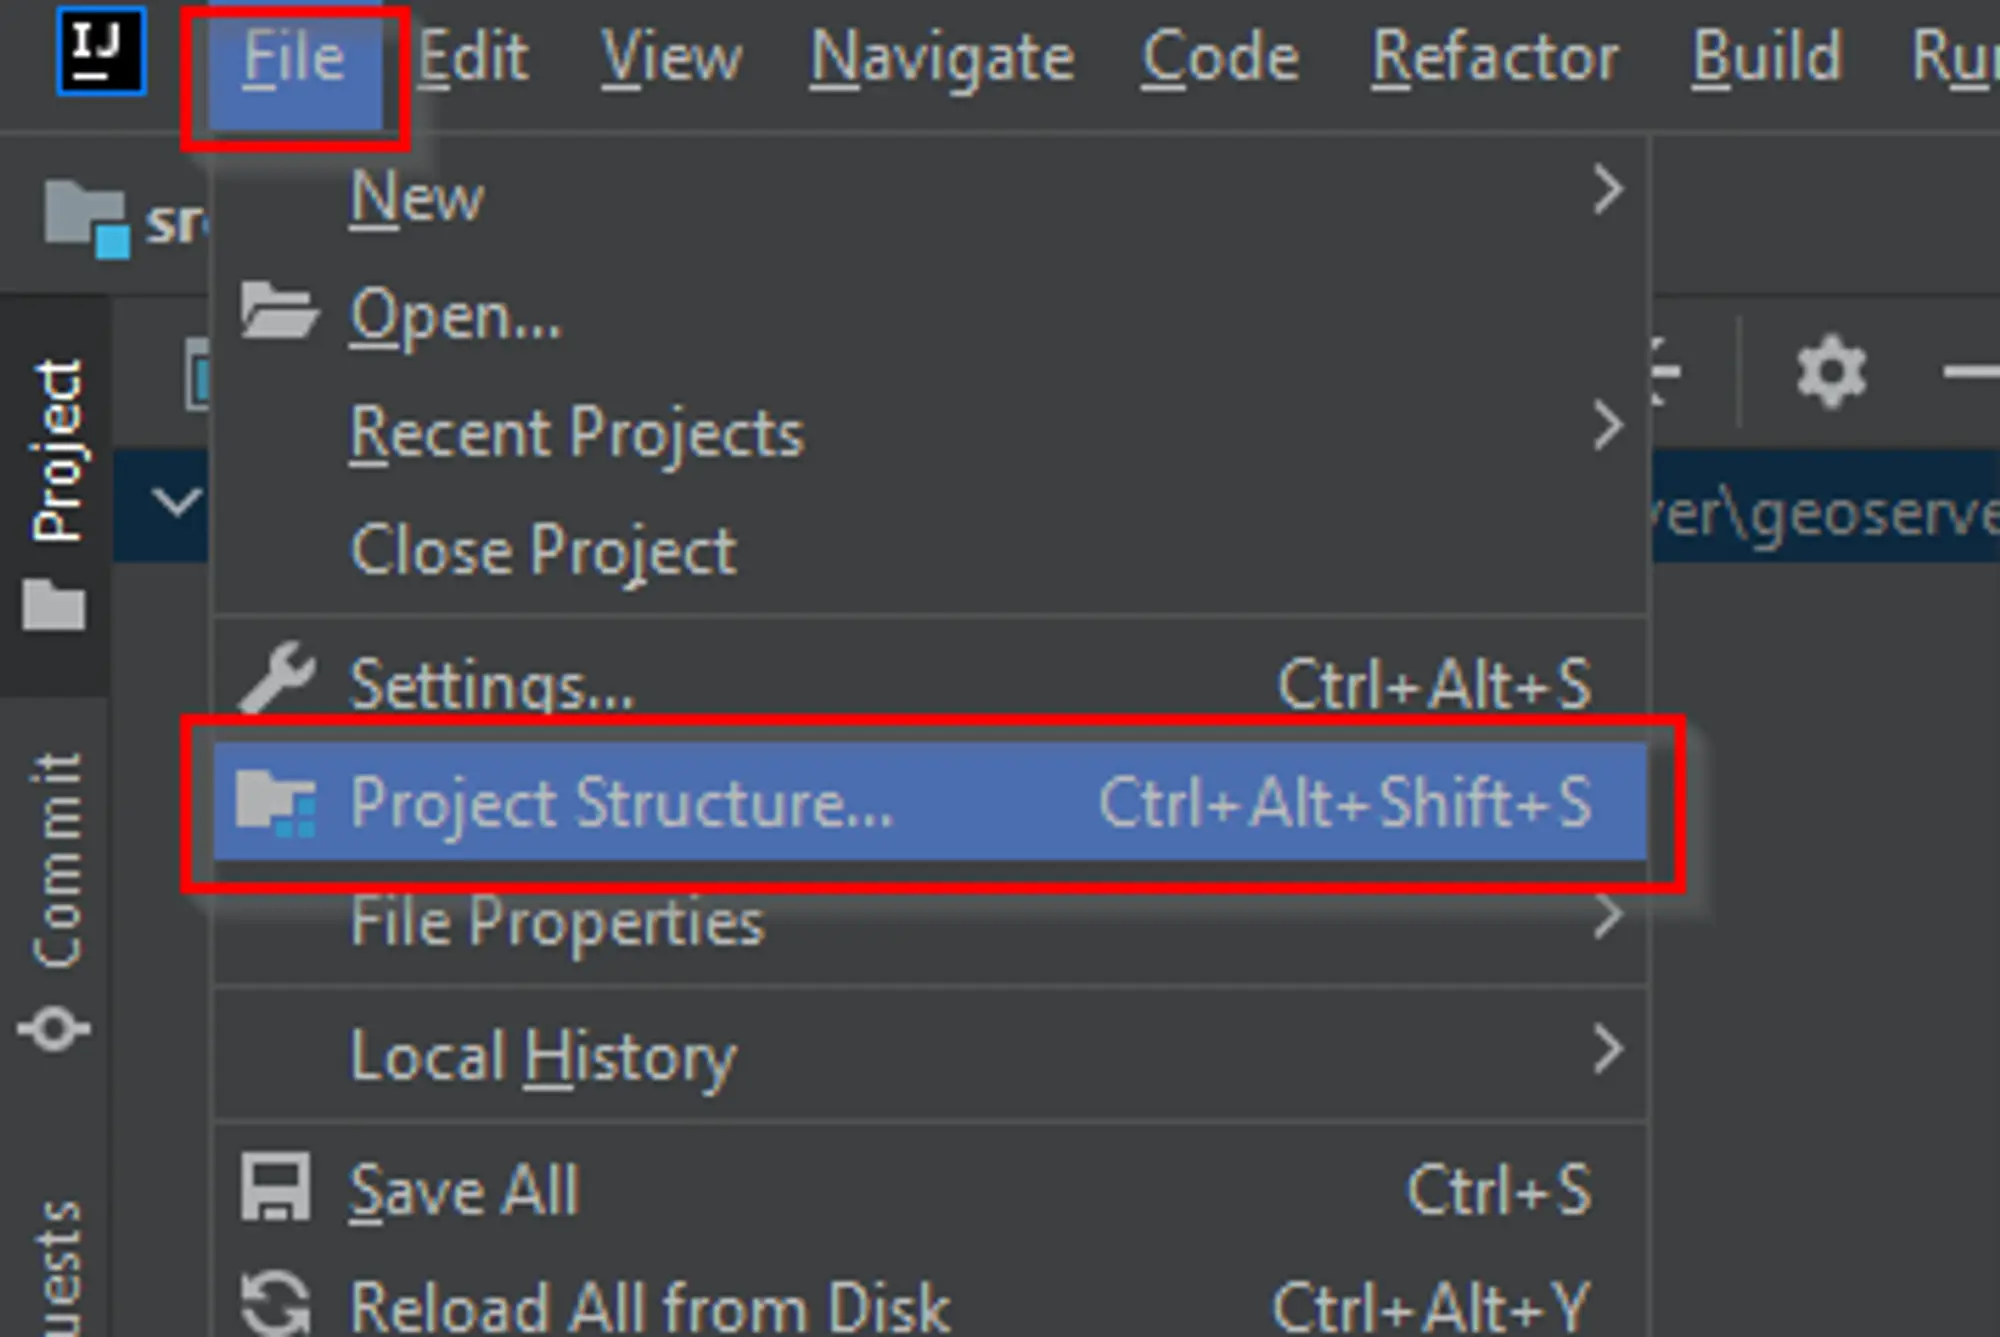
- Click
File > Project Structure.
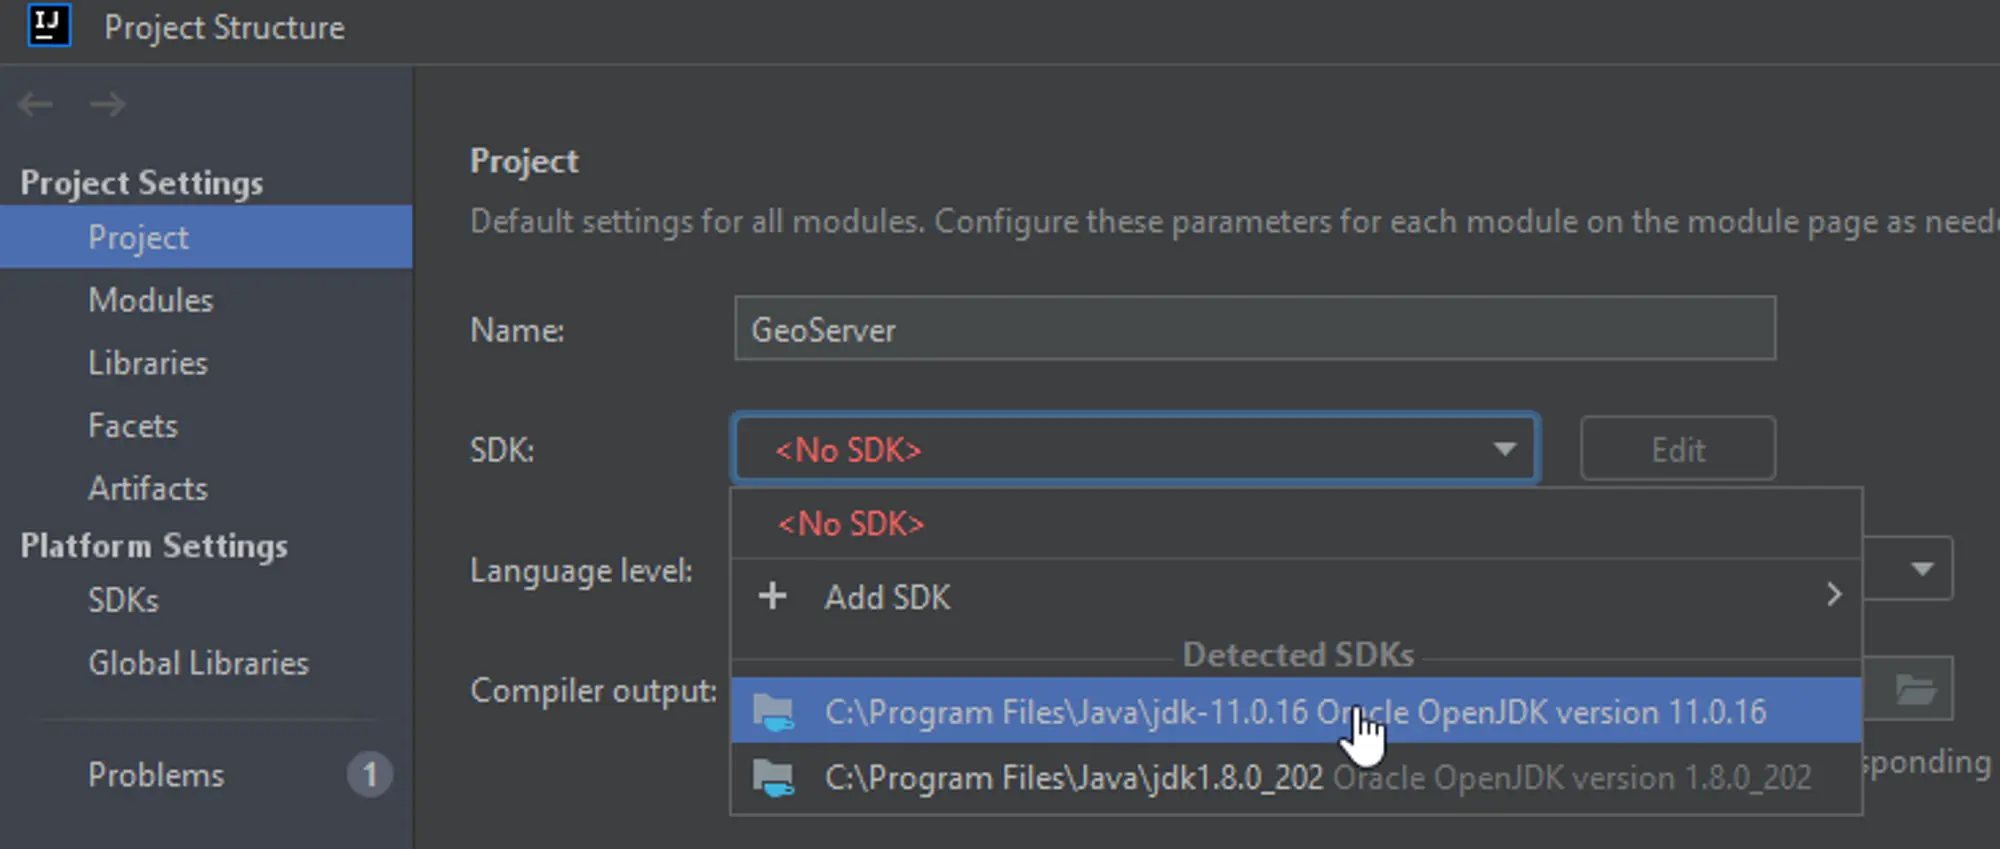
- Update the
Nameand select the correctSDKaccordingly to the GeoServer version.
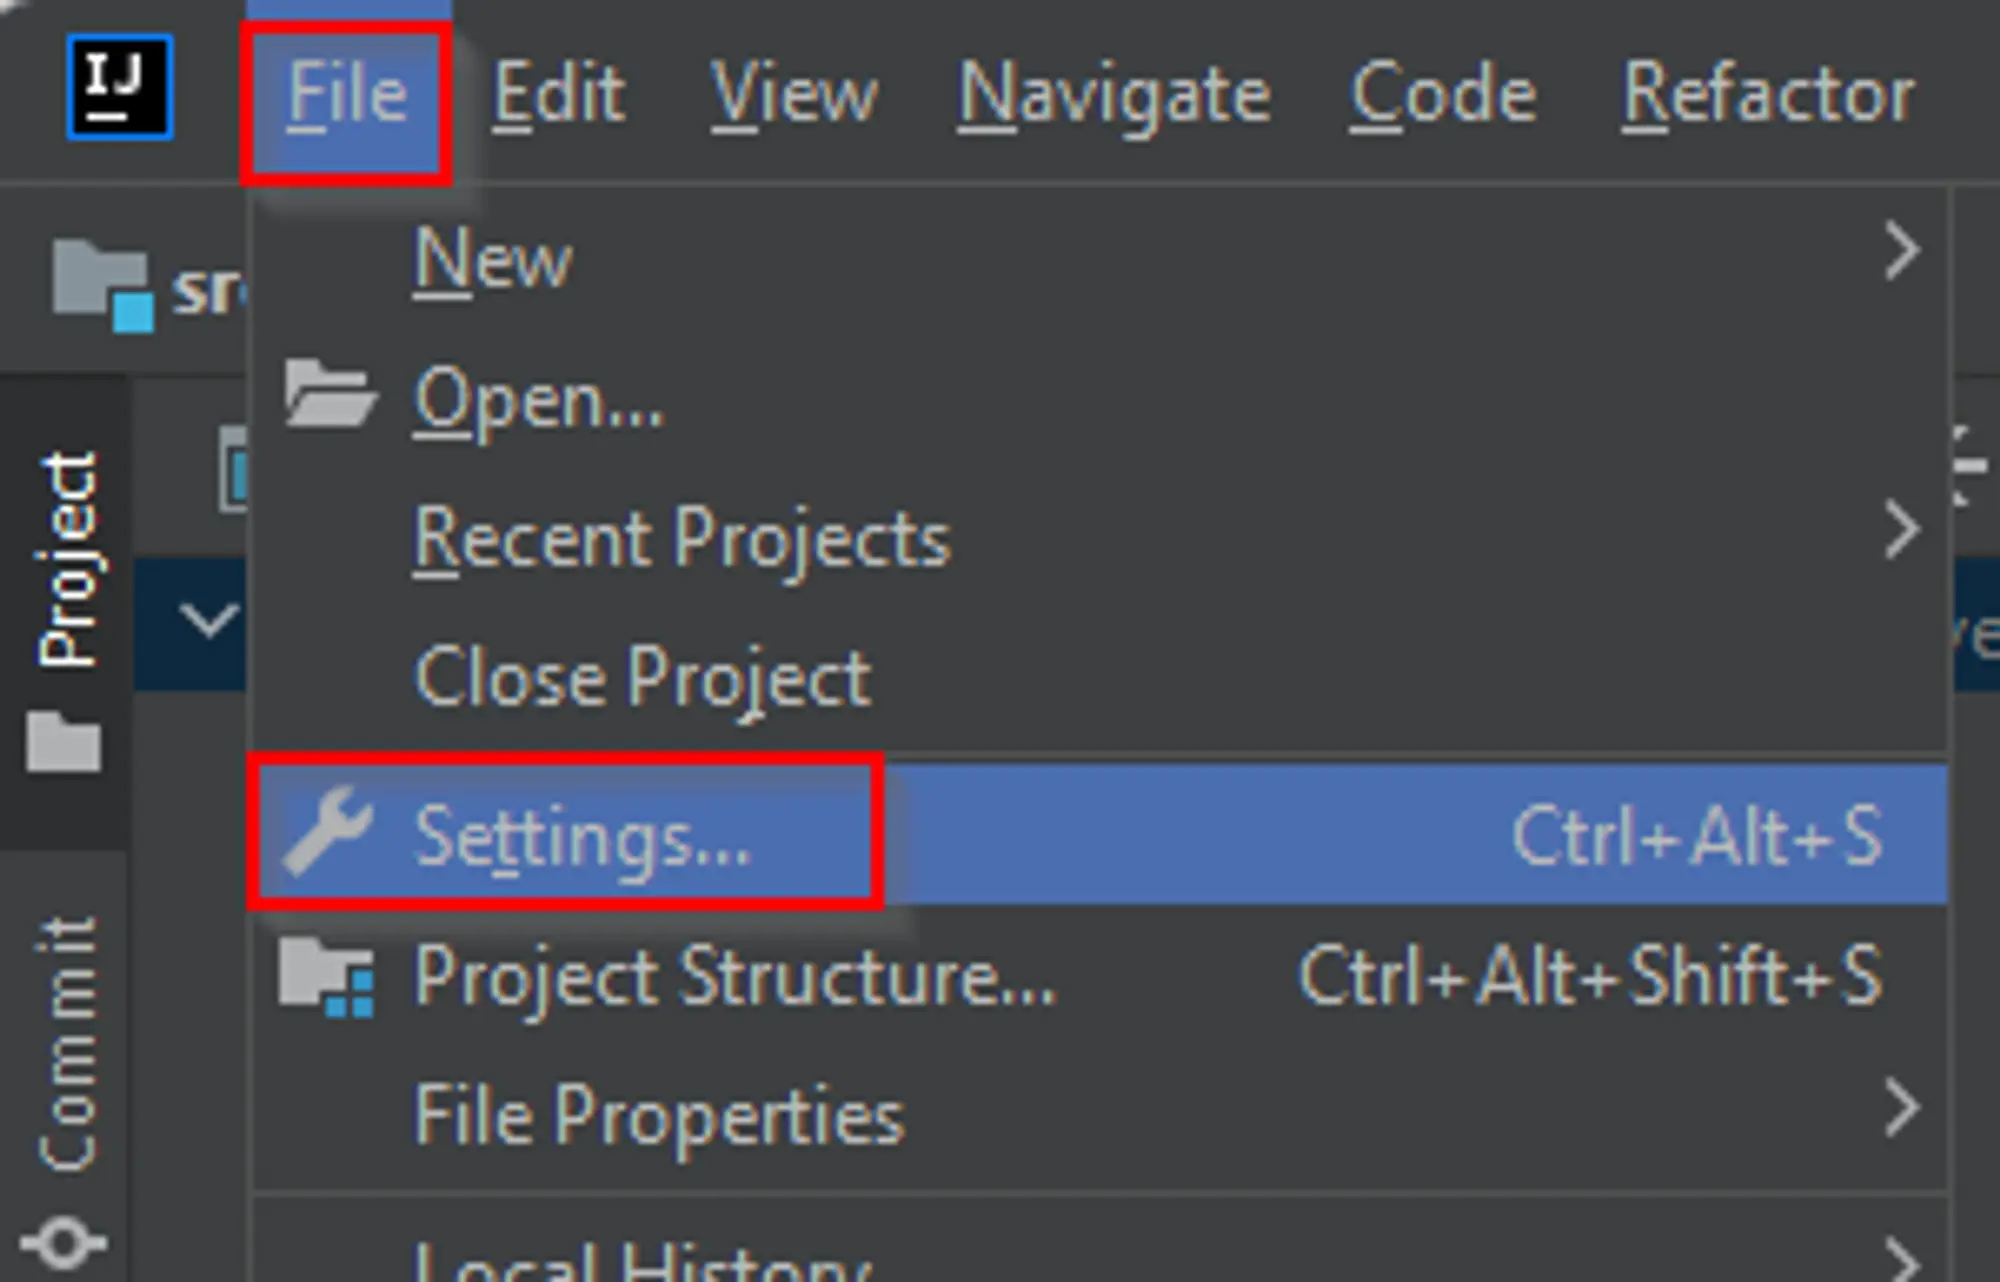
- Click
File > Settings.
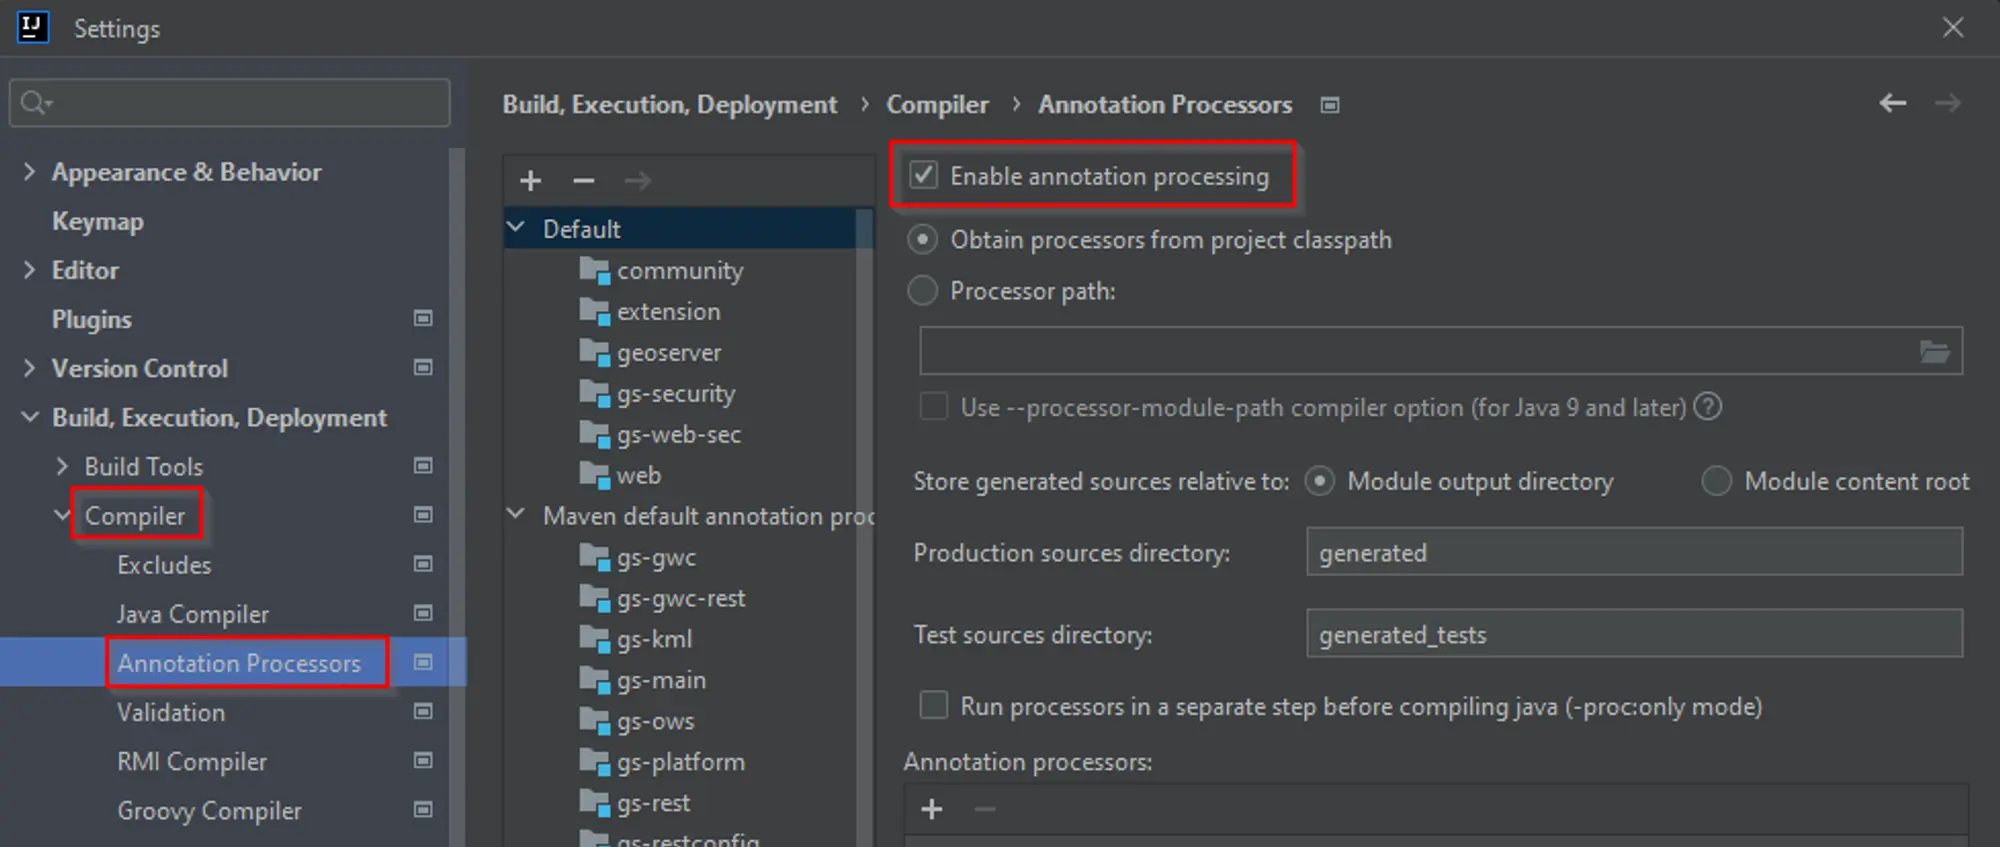
- From
Build, Execution, Deployment > Compiler > Annotation Processors, enable theAnnotation processing.
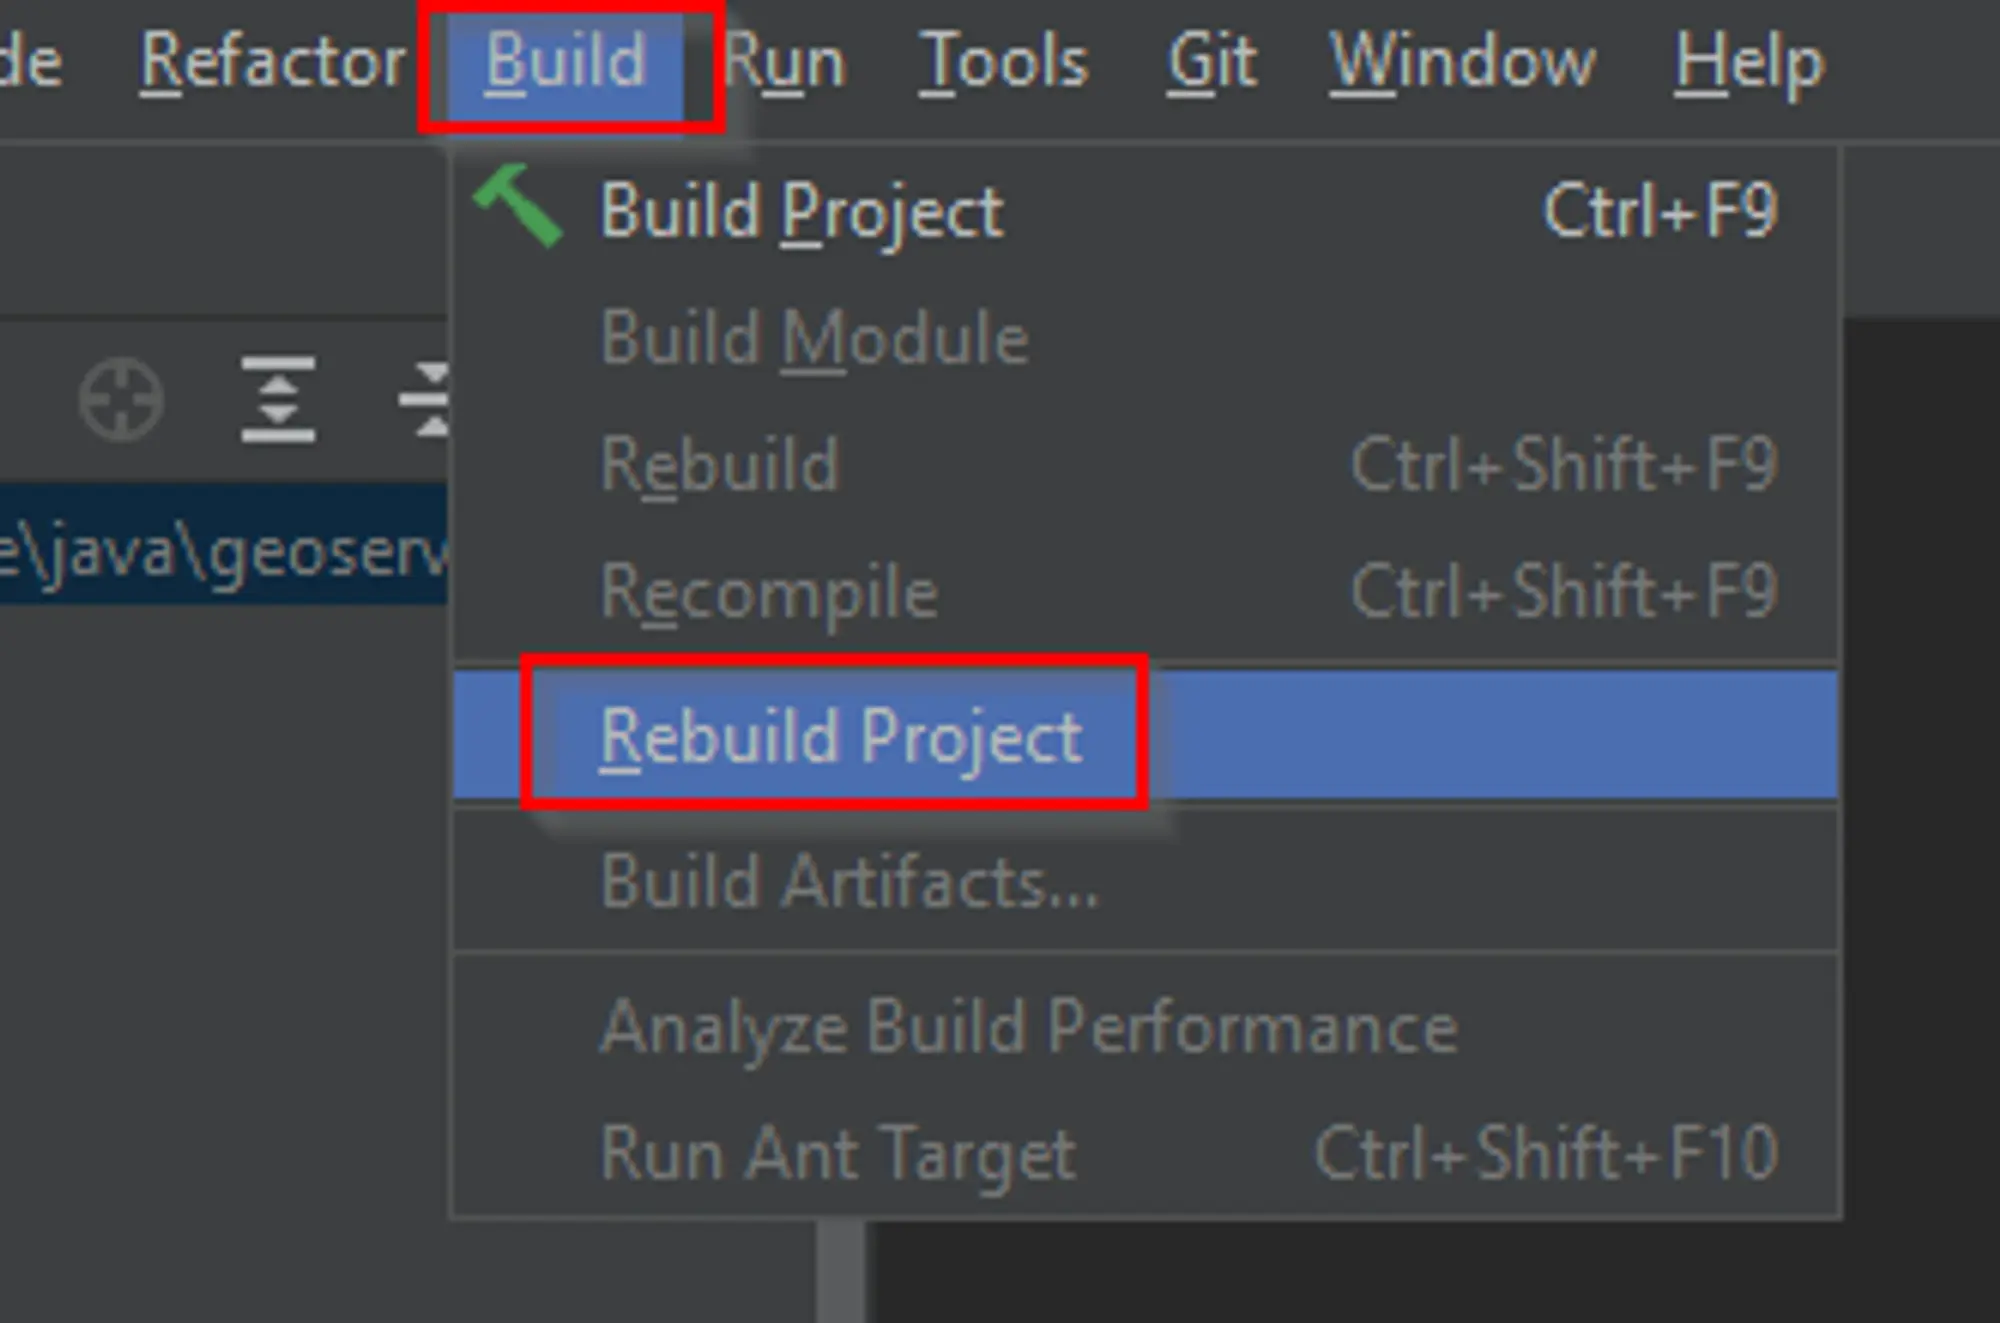
- Click
Build > Rebuild Project.
Run GeoServer from IntelliJ
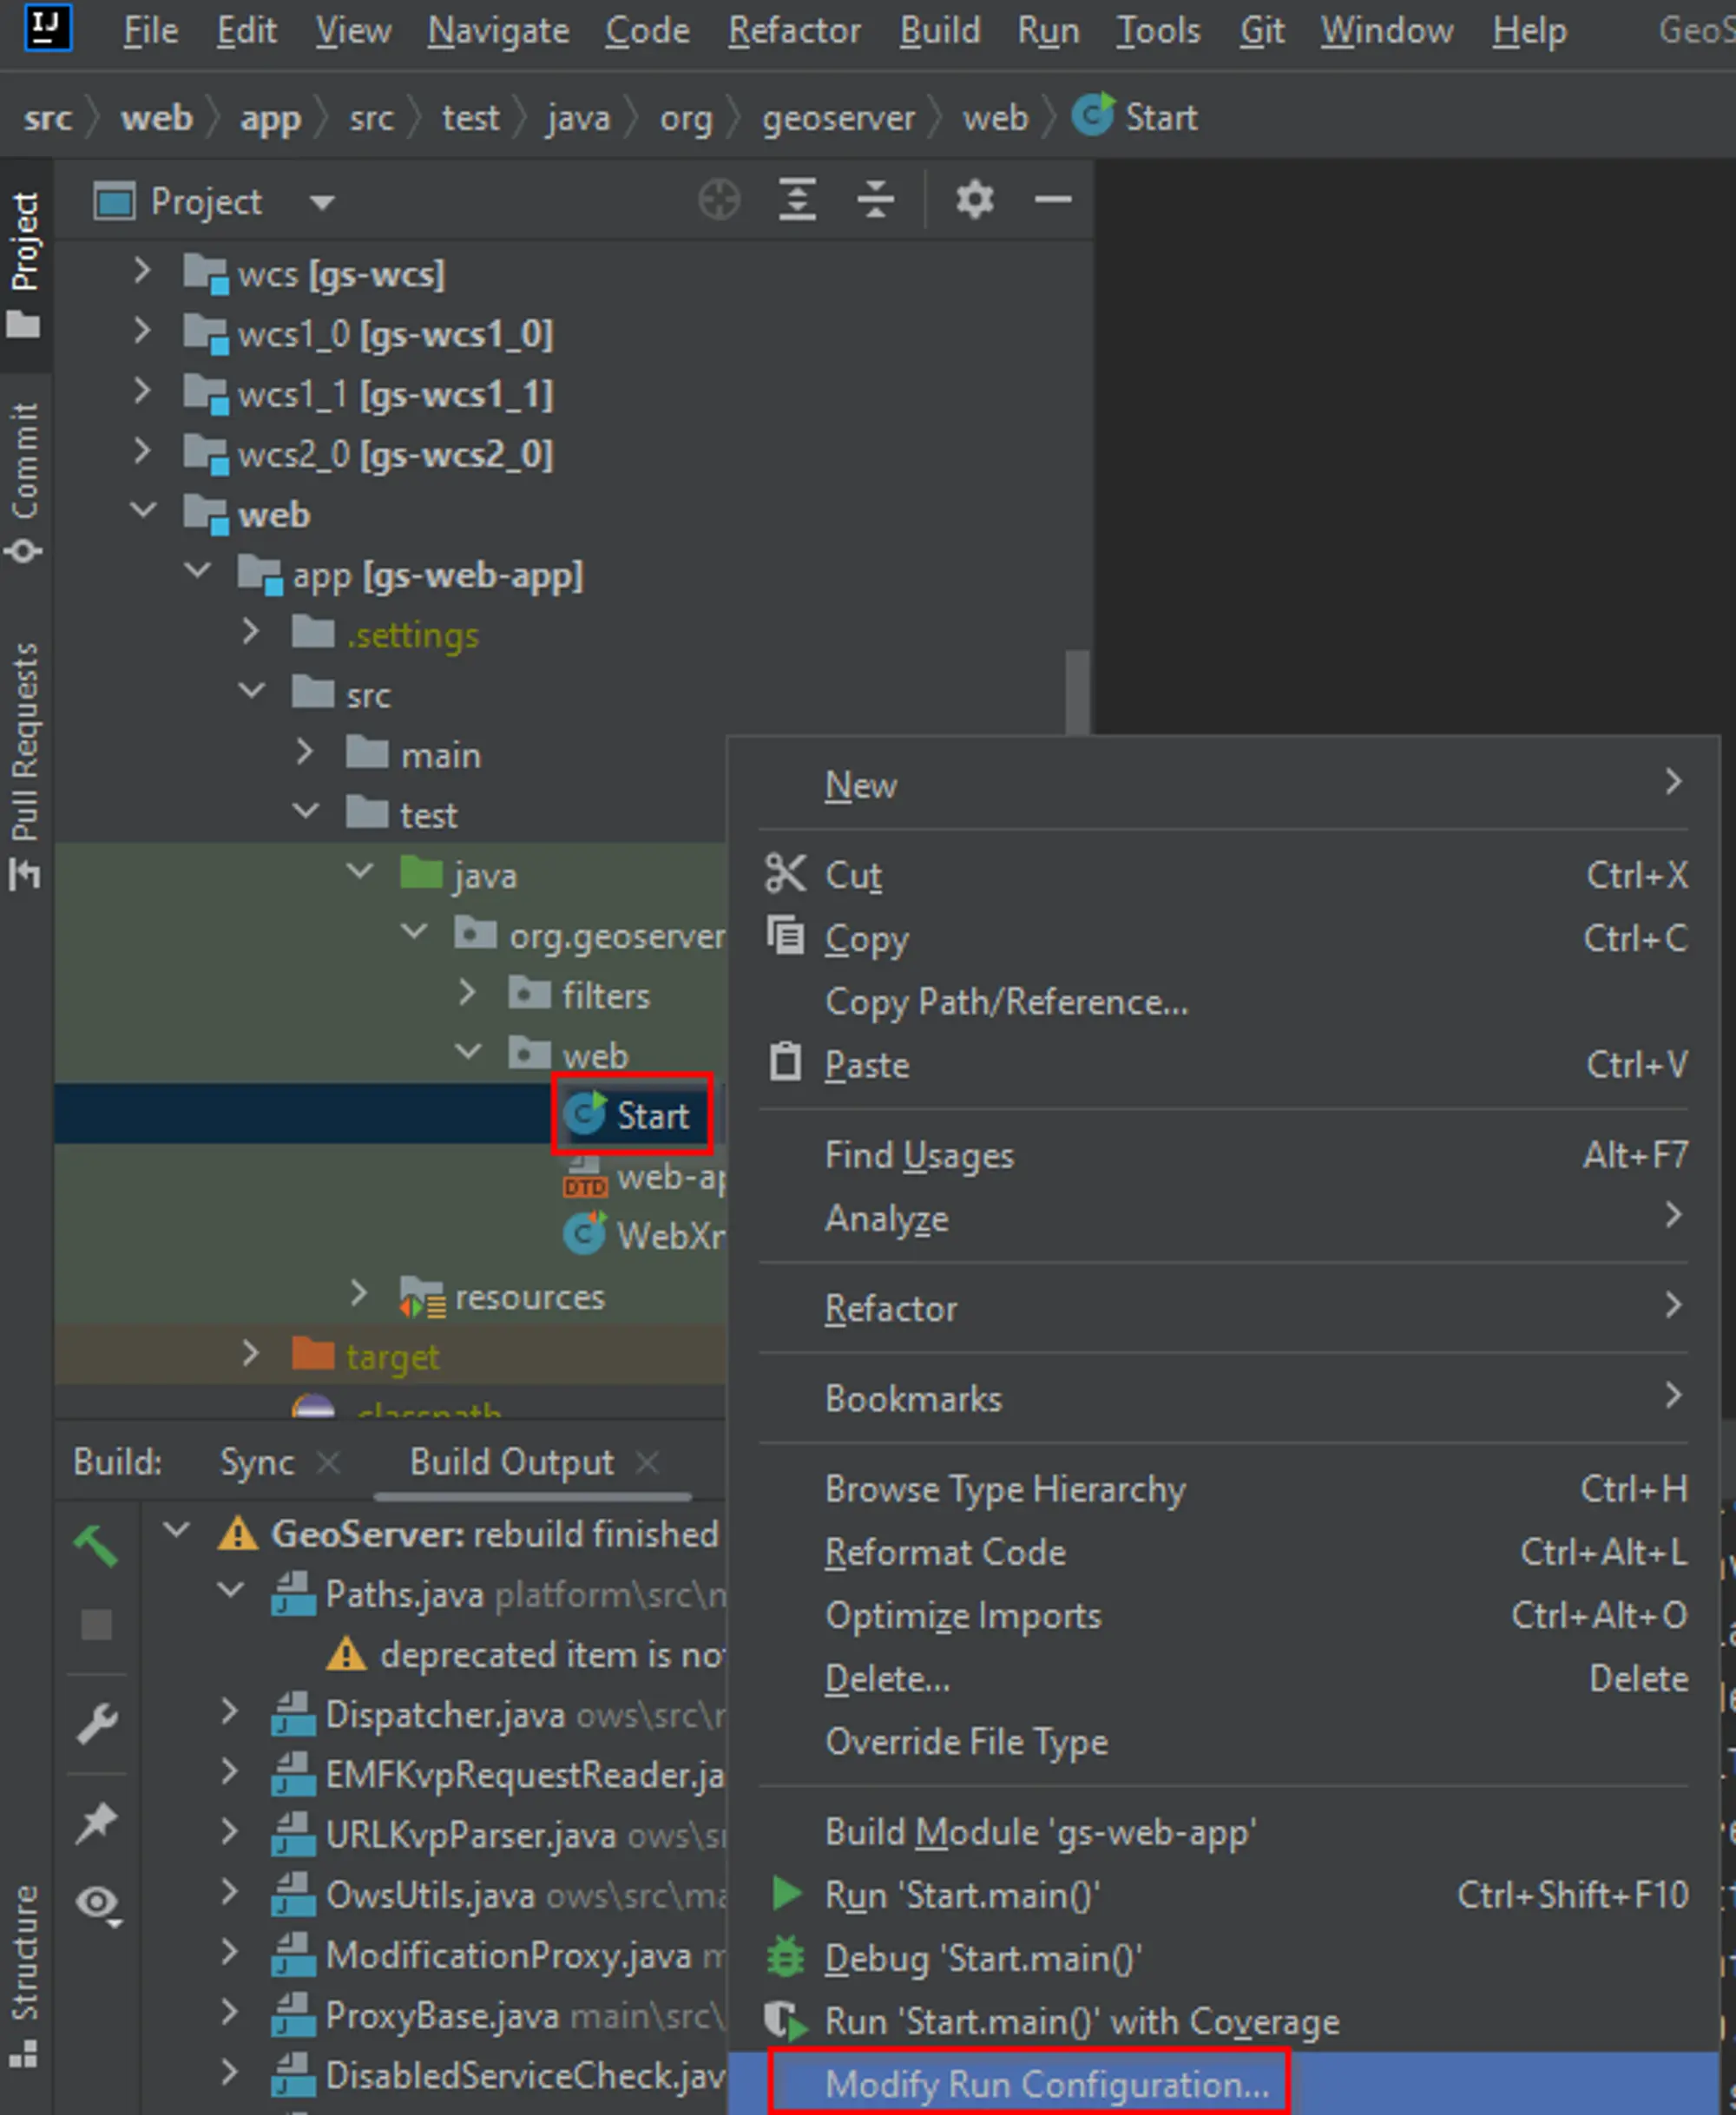
- From the Project browser select the
web-appmodule - Navigate to the
org.geoserver.webpackage - Right-click the
Startclass and click toModify Run Configuration...
如果没有该选项,那么直接去
Edit Configurations处创建一个即可,Add Configuration,选择Application
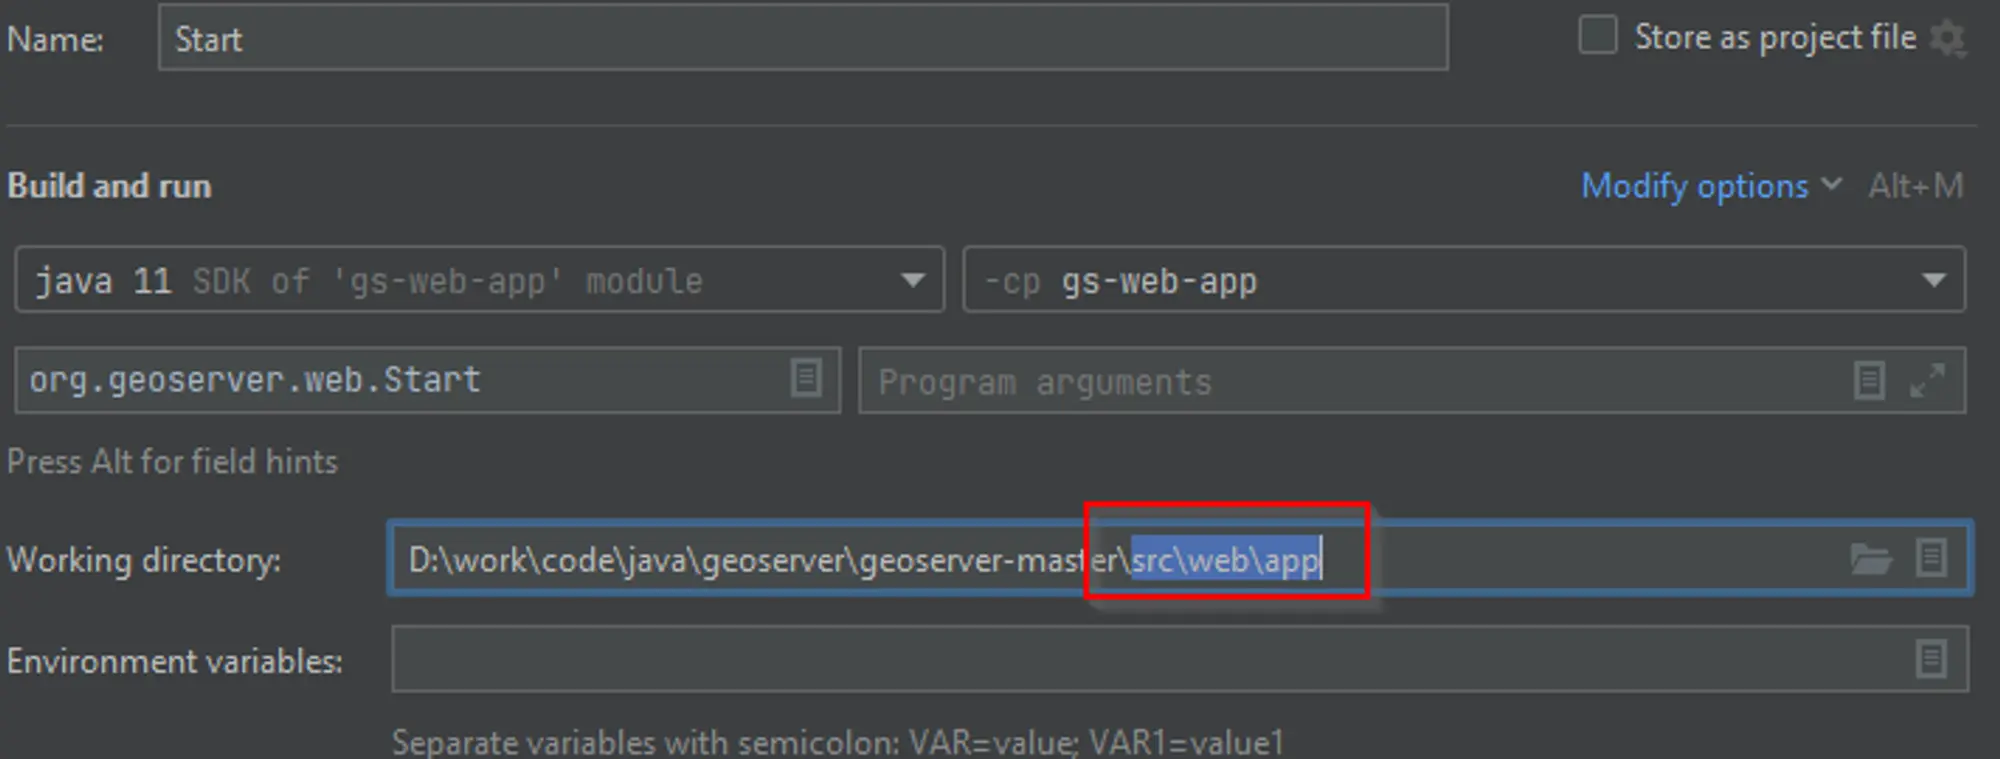
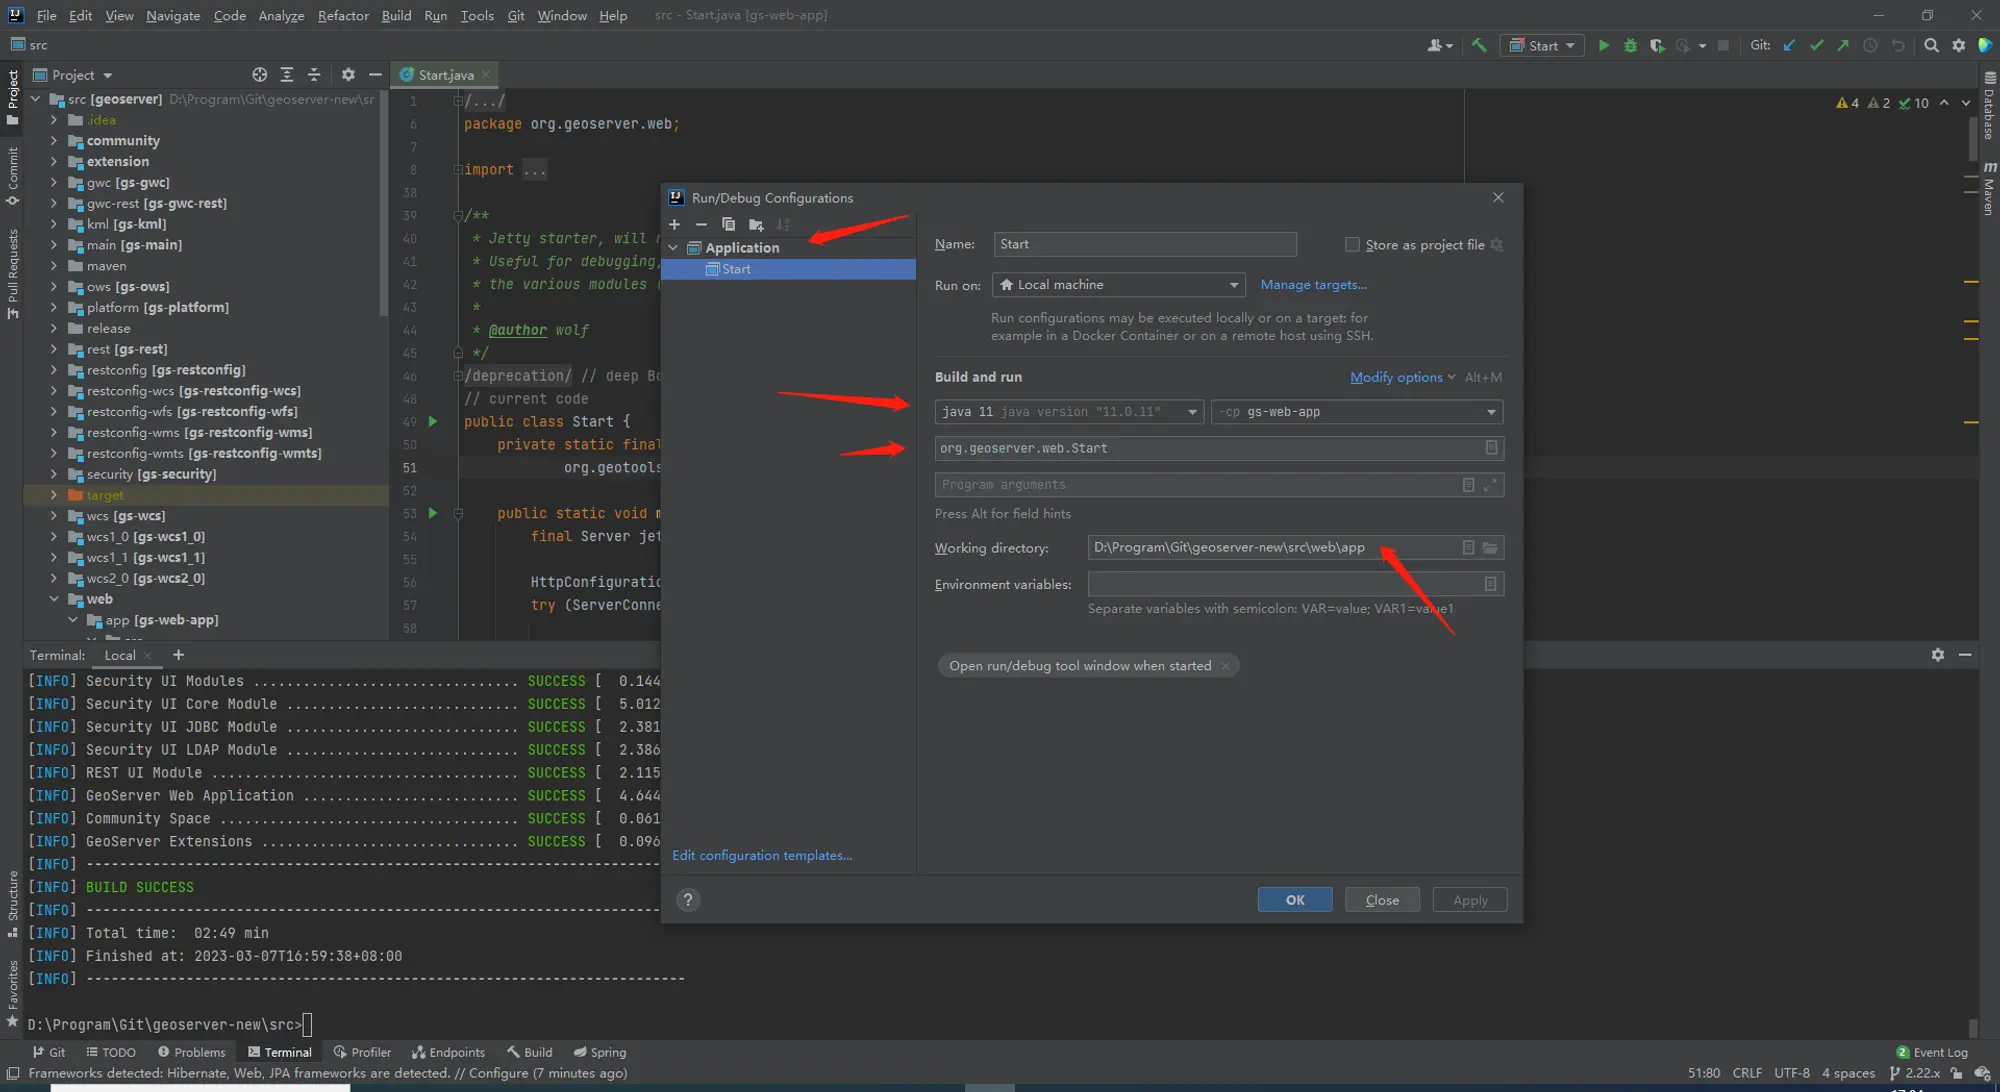
- It is important to correctly set the
Working directorytosrc/web/app. While having theEdit Configurationsdialog open, fine tune the launch environment (including setting aGEOSERVER_DATA_DIRor thejetty.port). When settings are satisfactory, clickOK.
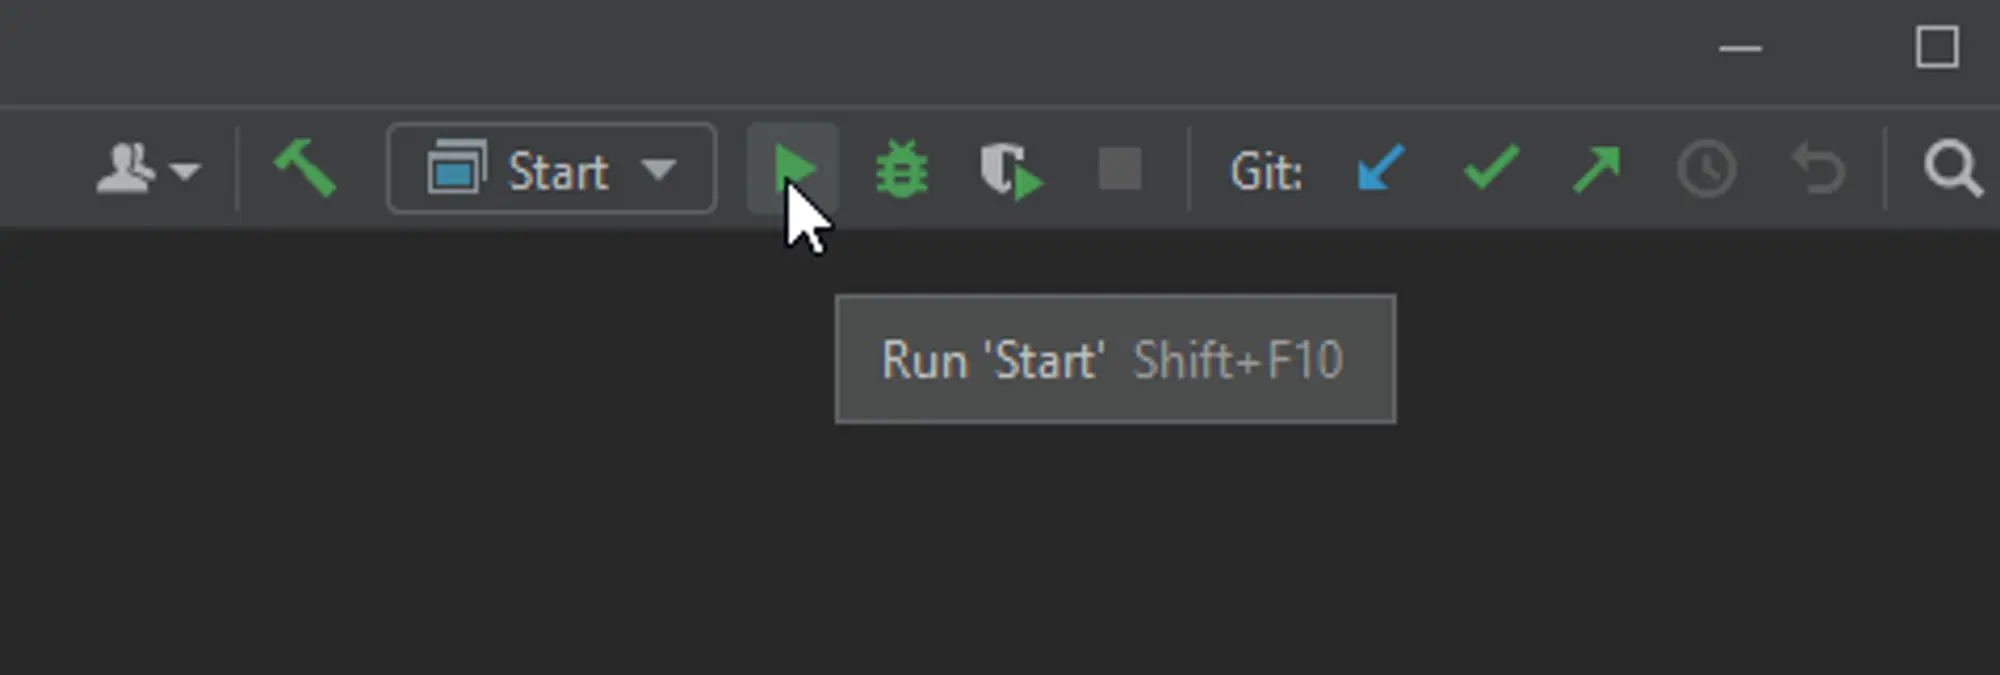
- It’s possible now to run GeoServer by selecting
Run -> Run 'Start'
第一次启动比较慢
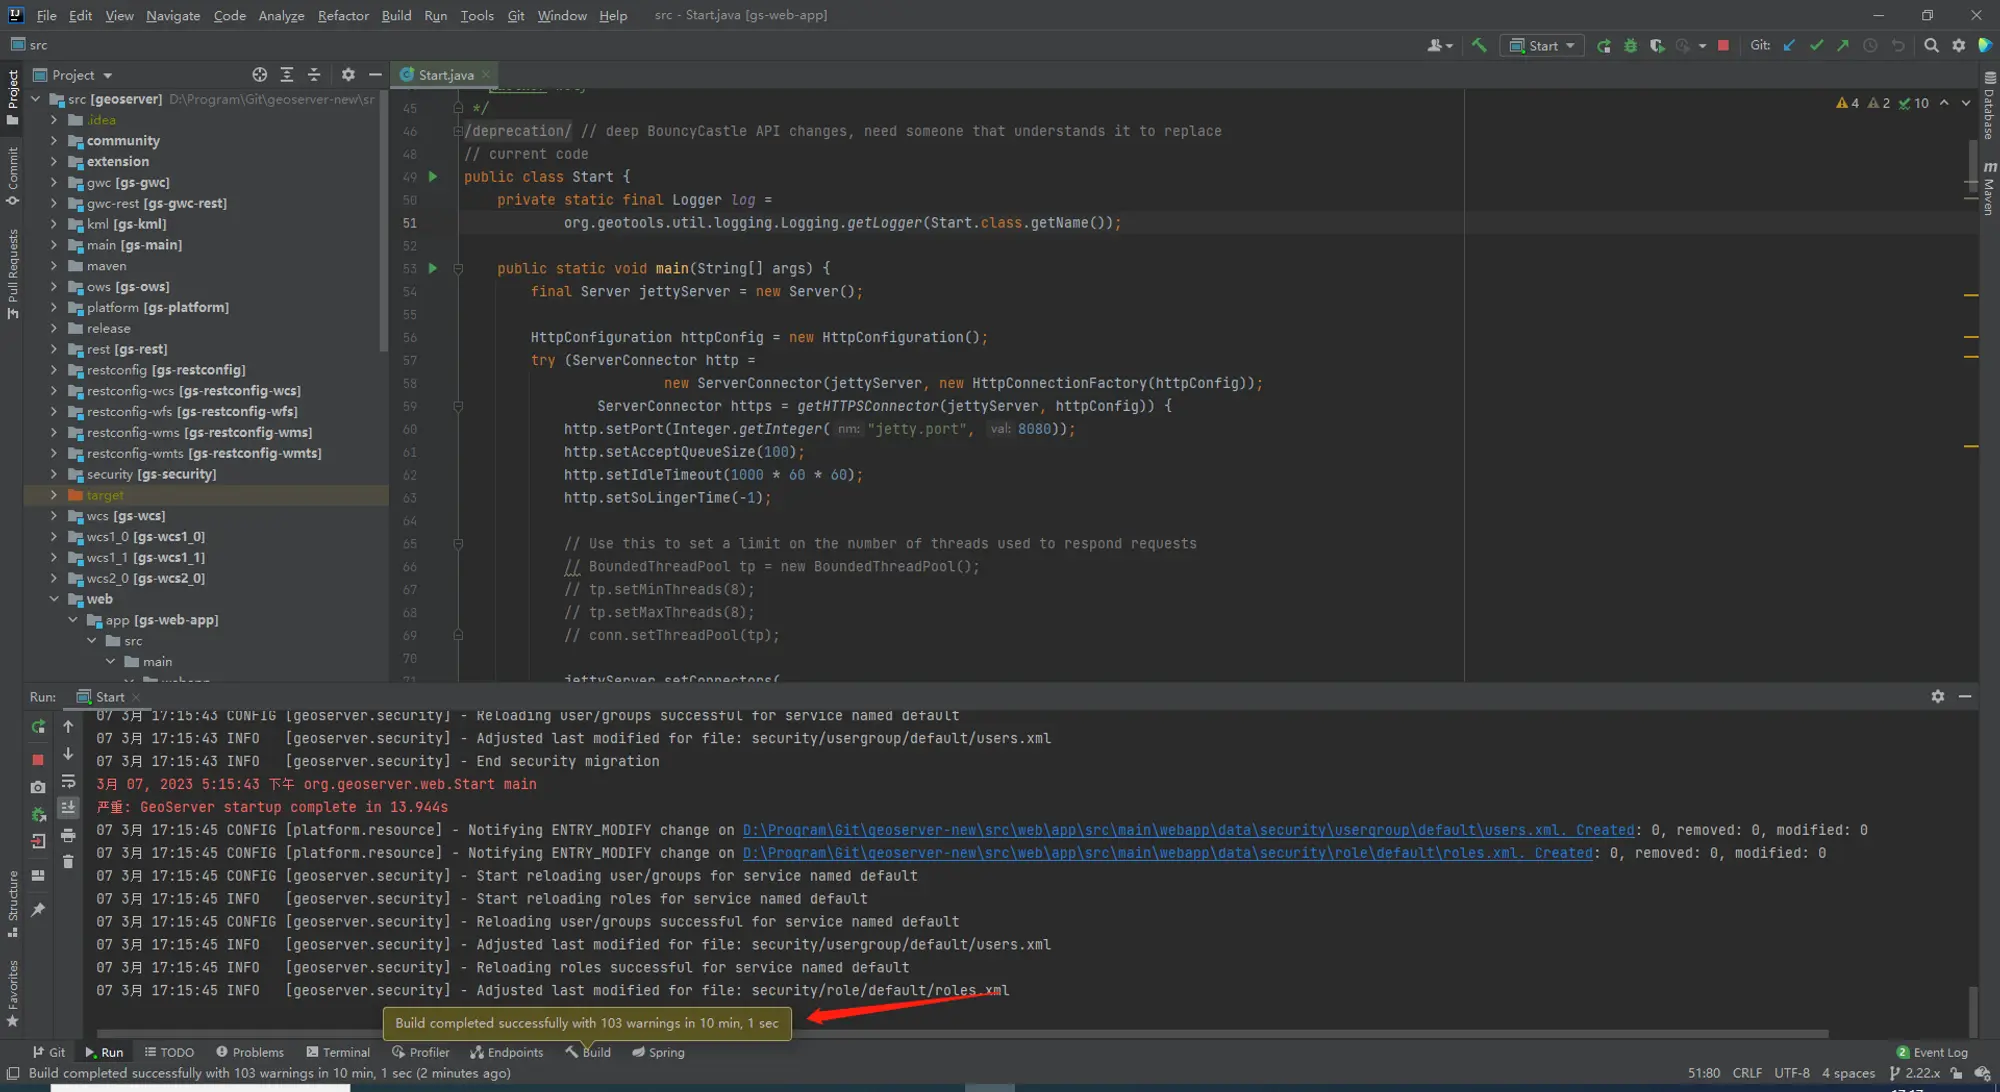
Access GeoServer front page
- After a few seconds, GeoServer should be accessible at: http://localhost:8080/geoserver
- The default
adminpassword isgeoserver.
FAQ
依赖下载失败或过慢(该条仅供参考)
使用阿里云Maven镜像加速依赖下载,可以参考阿里云Maven向导进行设置【有代理(科学上网)应该就不需要了】
maven配置文件优先级,maven工具所在的conf配置 > 外部化配置
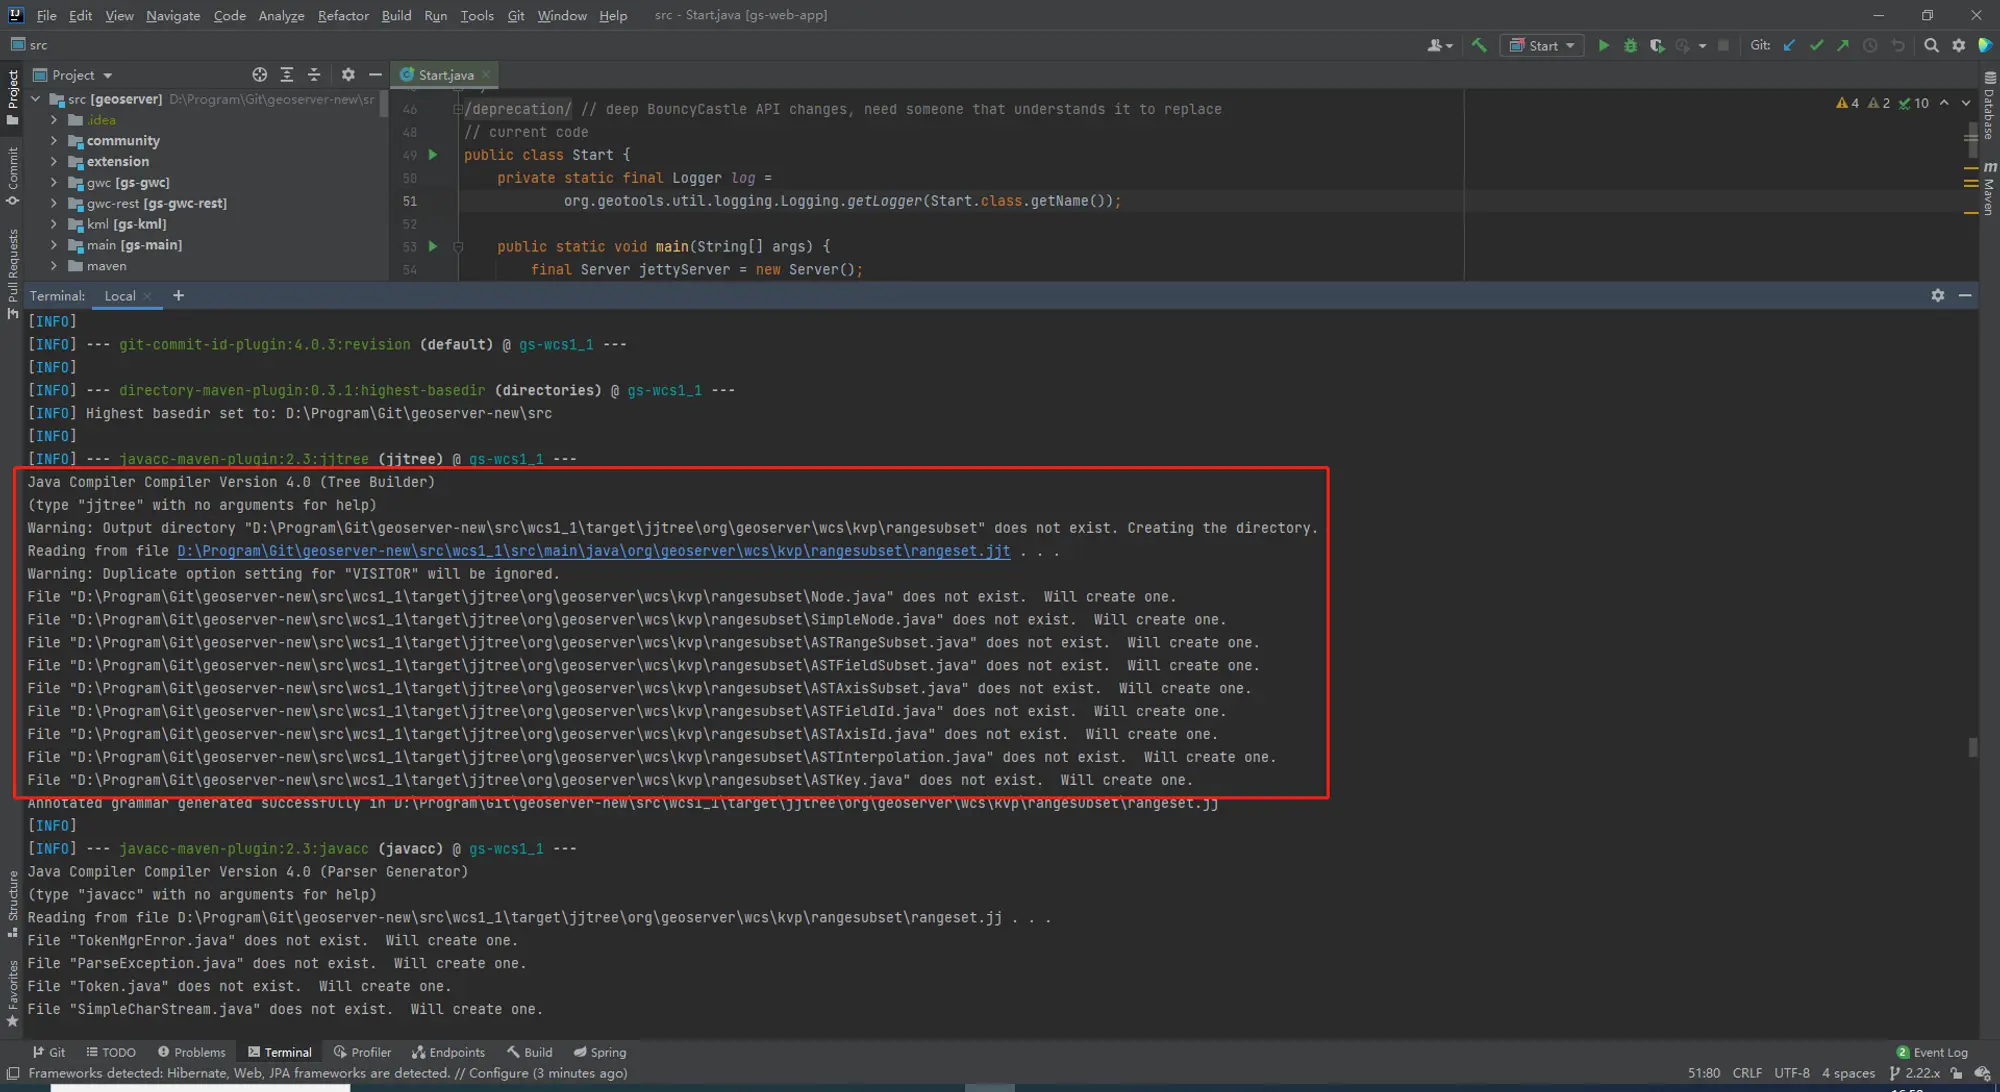
编译提示Node不存在(wcs1_1)
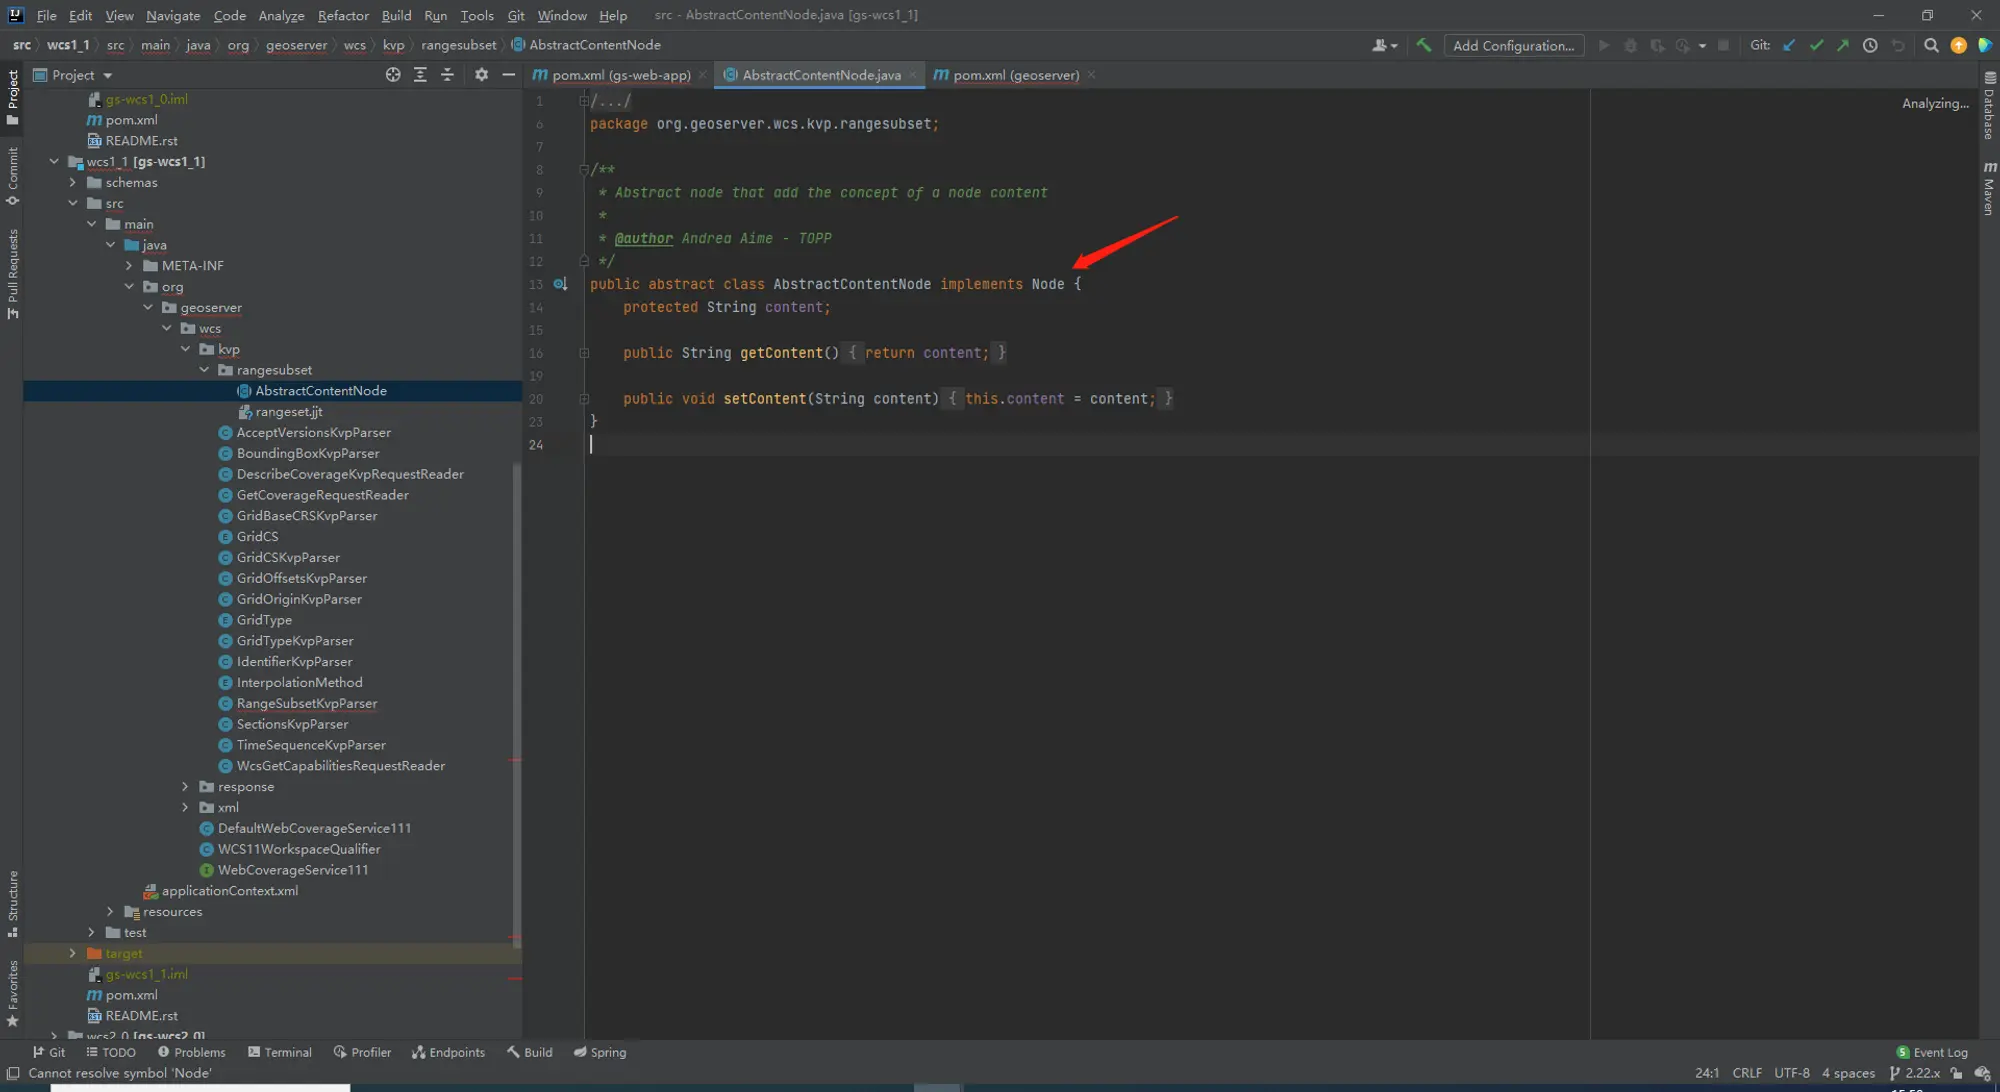
网络上有一些提示是:手动添加Node的依赖。但是我认为应该不需要手动设置才是,因为从官网的maven quick start中,并未使用任何的编辑器,直接命令行搞定。
# skip unit tests, skip spotless(Spotless is used as a fast way to check that the google-java-format is being applied to the codebase.)

mvn clean install -DskipTests -Dspotless.apply.skip=true

# 不想install, package也可以

mvn clean package -DskipTests -Dspotless.apply.skip=true
这个时候可以看到,Node这个类存在于编译后的代码中
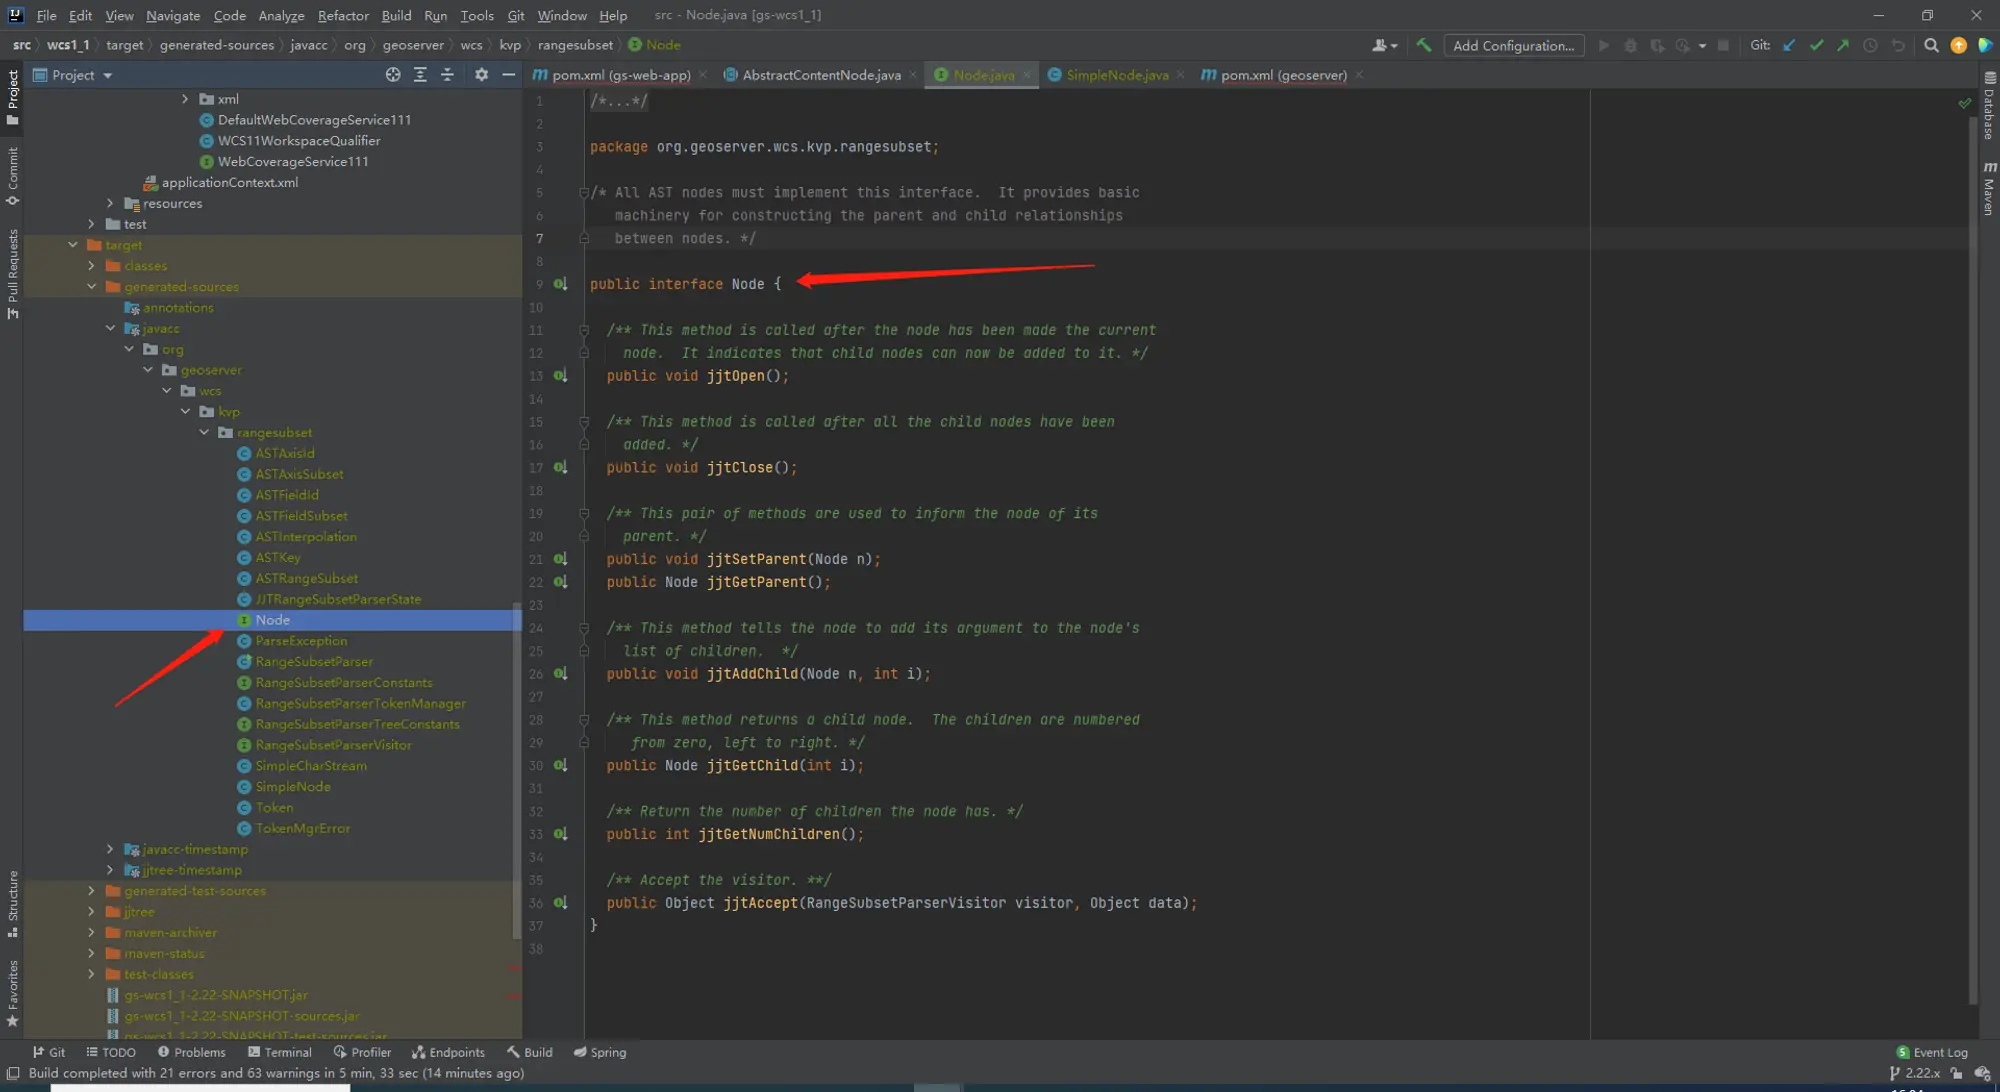
通过跟踪构建过程可以看到,是由javacc在编译过程中生成的(根据rangeset.jjt文件,知识盲区了)
其实在官方文档中已经提到了如何处理该问题的,参见Troubleshooting#1,就是需要先完成wcs1_1模块的编译构建。
我就不管那么多了,直接把所有的都构建了